In the previous posts (Light sensor, Compass and Inclinometer), I’ve shown how to use some sensors in a UWP app. In this post, I’ll show how to use another sensor, the accelerometer. The accelerometer will measure the acceleration of the device. This measure is very useful to see when the device is moved.
This sensor will show the acceleration in the three axis, X, Y and Z, and has a particularity: as it will show the forces that the device is submitted, its measure usually is not 0, because the device is always submitted to the gravity force (unless you take it to the space). The normal measure for the standing device is 1, the gravity force. When you move it, the measure should be different than 1.
Making a ball jump in UWP
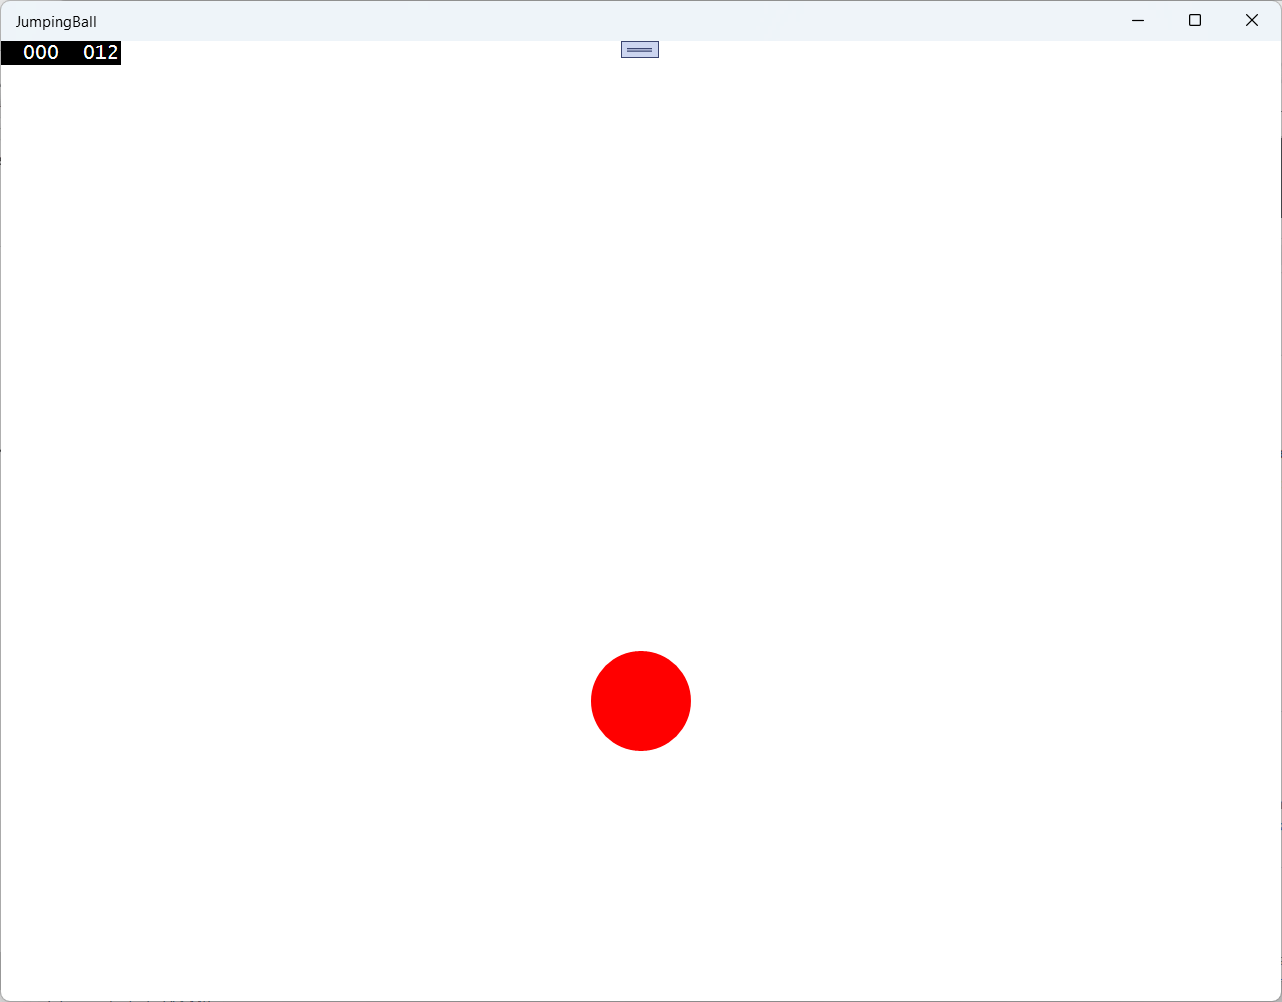
For this post, I will develop a program that shows a ball at the bottom of the window, and when the user shakes the device, the ball jumps, using an animation. The stronger the shake, the ball will jump higher.
The sensor gives three measures, but I am not interested in the acceleration in every axis. I just want the magnitude of the acceleration, and that’s given by this formula:
magnitude = sqrt(x^2 + y^2 + z^2)
The magnitude of the acceleration is the square root of the sum of the squares of the three measures.
With this information, we can start our program. Create a new blank UWP solution. In the main page, change the main element to a Canvas and add an ellipse to it:
<Canvas Background="{ThemeResource ApplicationPageBackgroundThemeBrush}">
   <Ellipse Width="80" Height="80" Fill="Red" x:Name="Ball"/>
</Canvas>
In the constructor of MainPage, add the code to position the ball, get the accelerometer and add the ReadingChanged event handler:
public MainPage()
{
    this.InitializeComponent();
    Loaded += (s, e) =>
    {
        Canvas.SetLeft(Ball, ActualWidth / 2 - 40);
        Canvas.SetTop(Ball, ActualHeight - 80);
        var accelerometer = Accelerometer.GetDefault();
        if (accelerometer == null)
        {
            return;
        }
        accelerometer.ReadingChanged += async (s1, e1) =>
        {
            await Dispatcher.RunAsync(Windows.UI.Core.CoreDispatcherPriority.Normal, () =>
            {
                var magnitude = Math.Sqrt(
                    e1.Reading.AccelerationX \* e1.Reading.AccelerationX +
                    e1.Reading.AccelerationY \* e1.Reading.AccelerationY +
                    e1.Reading.AccelerationZ \* e1.Reading.AccelerationZ);
                if (magnitude > 1.5)
                    JumpBall(magnitude);

            });
        };
    };
}
The code is very similar to the ones in the previous posts: we set the ball position to the bottom of the window and then set the ReadingChanged event handler. This handler gets the magnitude of the reading and then, if the magnitude is greater than 1.5G, it calls JumpBall, to make the ball jump. The code for JumpBall is:
private void JumpBall(double acceleration)
{
    var da = new DoubleAnimation()
    {
        From = ActualHeight-80,
        To = ActualHeight-80-acceleration \* 200,
        AutoReverse = true,
        Duration = new Duration(TimeSpan.FromSeconds(1))
    };
    Storyboard.SetTarget(da, Ball);
    Storyboard.SetTargetProperty(da, "(Canvas.Top)");
    var sb = new Storyboard();
    sb.Children.Add(da);
    sb.Begin();
}
We create a DoubleAnimation with the bottom of the window as the starting point, the end point is given by the magnitude of the reading. The animation is related to the Canvas.Top attached property, related to the ball. With all that set, we start the animation.
That way, when the user shakes the device, the ball jumps. Now, when you run the app and shake the device, the ball will jump.

Conclusions
With the accelerometer, you can give your users more interactivity, detecting when they move or shake the device and act accordingly. The accelerometer is very easy to use and can improve the games usability a lot.
The full source code for this project is in https://github.com/bsonnino/JumpingBall
