
In the last post, I have shown how to use the light sensor to get light data and offer a better experience for the user. In this post, I will show another sensor available in 2-in-1 devices and tablets: the compass. The compass is a sensor the shows the direction, related to the magnetic north.
On physical compasses, this reading is given by a magnetic needle that is always pointing to the magnetic north. When you turn the compass, it will show you where are you heading to. In computers and smartphones, there is no magnetic needle, but the sensor shows the angle of the device, related to the magnetic north. To use the sensor, we must create a program that does the same three steps of the last post:
- Get an instance of the sensor with the GetDefault method
- Set its properties
- Set a handler for the ReadingChanged
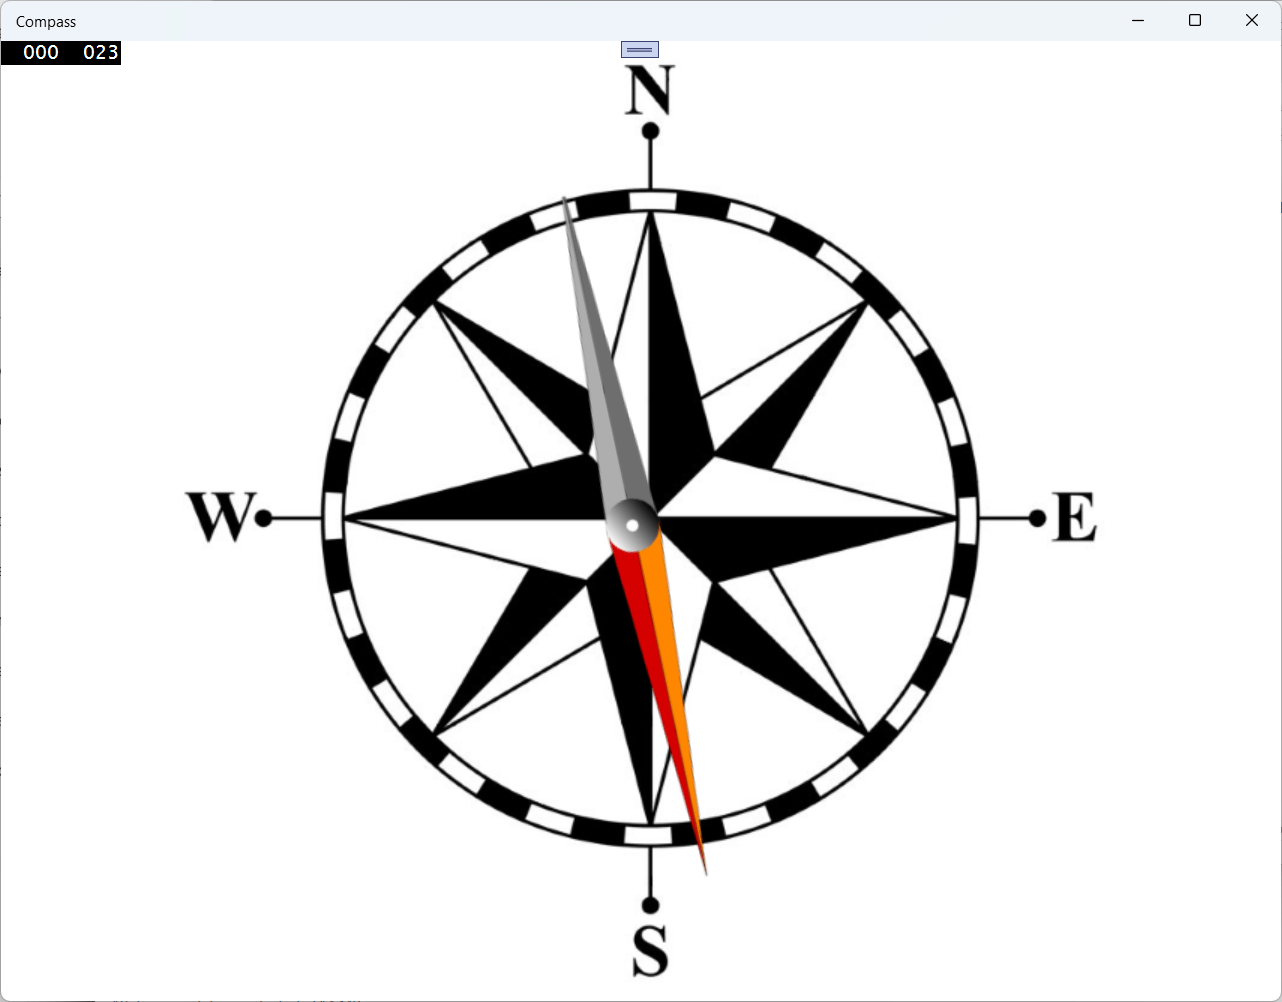
In this post, we will create a program that simulates a physical compass and shows the heading of the device.
Creating a compass simulator in UWP
The first step is to create a blank UWP project. In this project, add images tor the compass background and needle (I got my background from http://www.clipartbest.com/images-of-a-compass and the needle from http://www.clker.com/clipart-compassnorth.html) in the Assets folder.
Then, add the two images to the main window:
<Grid Background="{ThemeResource ApplicationPageBackgroundThemeBrush}">
    <Image Source="Assets\\Compass.png" HorizontalAlignment="Stretch"
           VerticalAlignment="Stretch" Stretch="Uniform"/>
    <Image Source="Assets\\Compassnorth-Hi.png" HorizontalAlignment="Stretch"
           VerticalAlignment="Stretch" Stretch="Uniform" x:Name="Needle"/>
</Grid>
In the constructor of MainWindow, we must get the compass and set the ReadingChanged event handler:
public MainPage()
{
    this.InitializeComponent();
    var compass = Compass.GetDefault();
    if (compass == null)
    {
        return;
    }
    compass.ReadingChanged += async (s, e) =>
    {
        await Dispatcher.RunAsync(Windows.UI.Core.CoreDispatcherPriority.Normal, () =>
        {
            RotateNeedle(e.Reading.HeadingMagneticNorth);
        });
    };
}
The event handler just calls RotateNeedle, passing the reading angle as parameter. RotateNeedle is very simple:
private void RotateNeedle(double angle)
{
    var transform = new RotateTransform() { Angle = angle };
    Needle.RenderTransformOrigin = new Windows.Foundation.Point(0.5, 0.5);
    Needle.RenderTransform = transform;
}
It just creates a RotateTransform, setting the angle to the reading angle, sets the origin of the rotation on the middle of the needle and then sets the RenderTransform property to this transform.
With this, you have a compass simulator that works both on desktops and smartphones. As you turn the device, the needle will be pointing to the magnetic north and the head will show you the direction.
Conclusions
As you can see, working with the compass is very easy, you can easily get the reading of the sensor and change the view, depending on what the user is heading. This is one more tool that you can use to give the user a better experience.
The full source code for the project is in https://github.com/bsonnino/Compass