
ChatGPT has sparked a revolution in how we search and query the internet. At the same time, it brought an unexpected side effect: suddenly, AI became a necessity in every aspect of our lives.
Although not new (AI has been around since the 1950s), there has been a renewed attention to AI and people have begun thinking about where it could be added to enhance their programs.
This shift forced developers rethink their programs and add new features to make the applications more friendly and useful to the users. But that posed a real problem: what AI features should be added and how to add them. You must balance your approach: adding too few features might leave you behind the competition, while adding too many could overload your app and turn it into a bloated mess.
At this point, developers must seek information on scenarios, samples, and ways to add AI in their apps. For C# developers, that's especially difficult, because we see that most resources are focused on Python, and frameworks like PyTorch and TensorFlow are the ones that dominate the landscape.
When it comes to models to use, there is no shortage of options. If you go to Hugging Face (https://huggingface.co), you will get something like this:
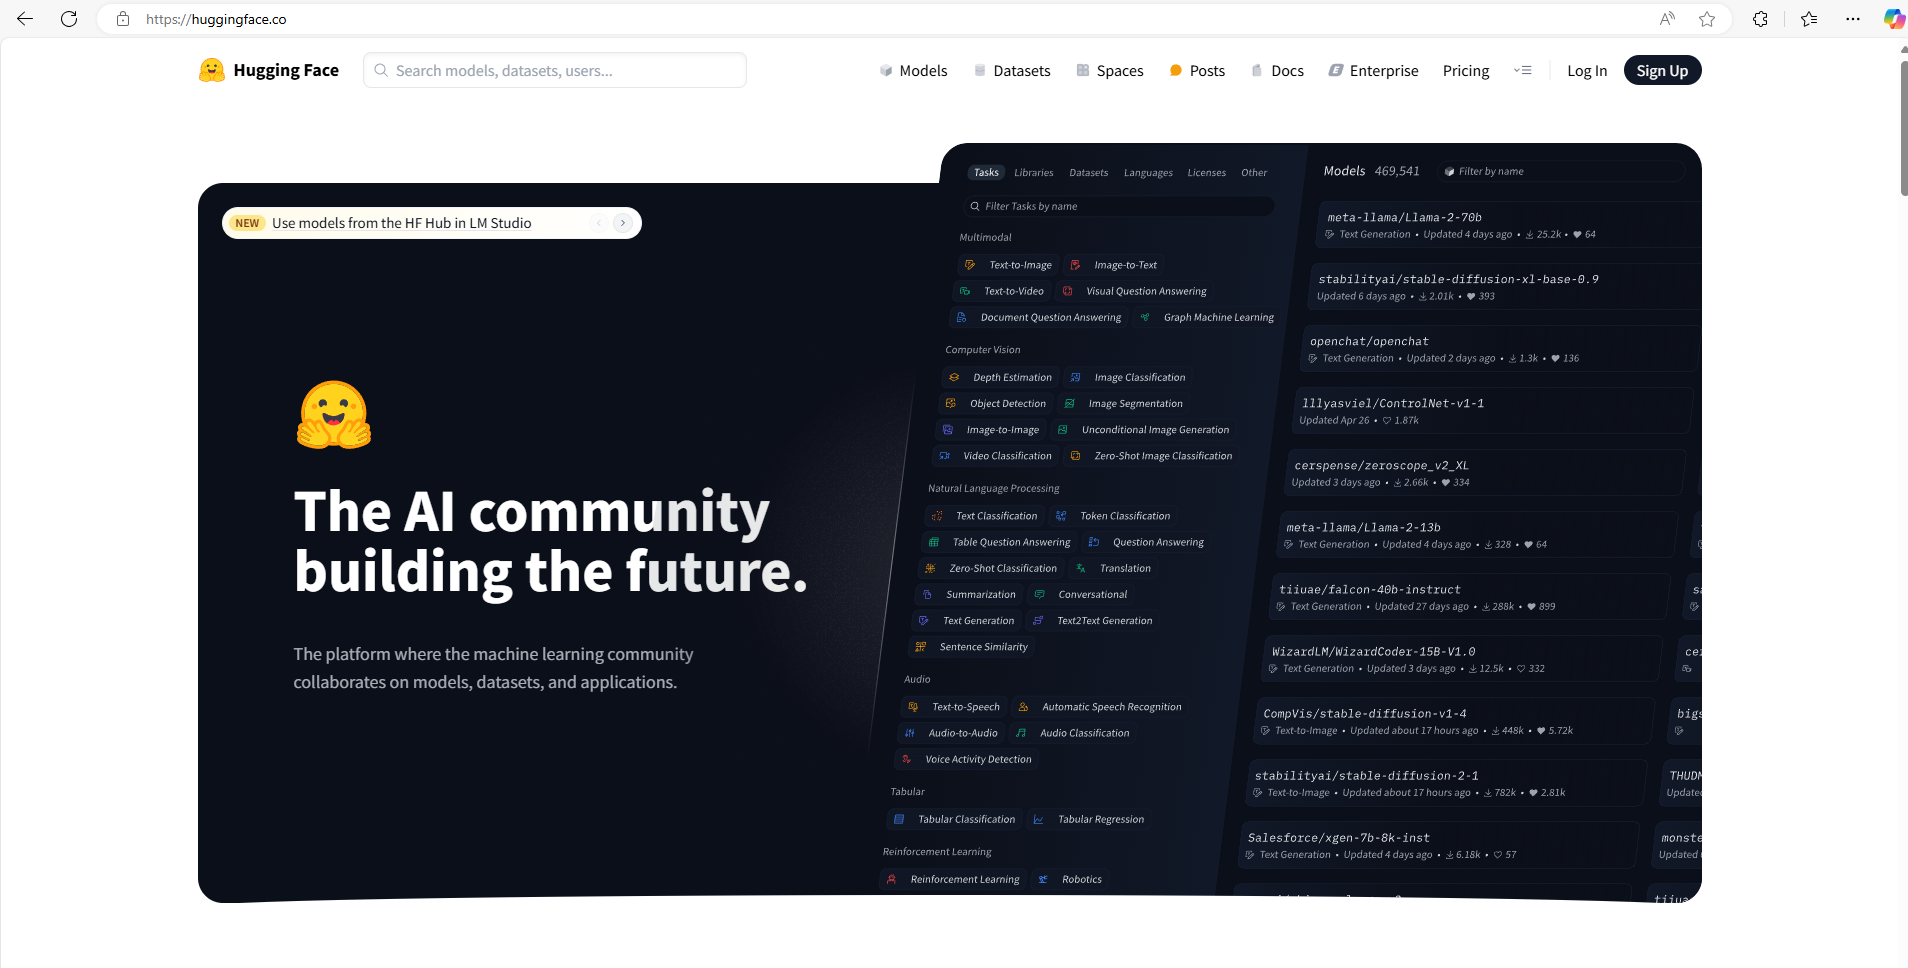
This website can seem pretty intimidating, with its large number of models available, and it may be very difficult to choose the right one.
With that in mind, Microsoft developed a new app to help you choose the best model and the right scenario for adding AI to your app: the AI Dev Gallery. It's an open source app, you can visit https://aka.ms/ai-dev-gallery, clone the repo, compile it and start using it.
Main screen
When you compile and run it, you will see a screen like this:

The top part shows a carousel of samples, and you can navigate directly to one by clicking on it. At the bottom, you have a tabbed view where you can select from recently used samples or browse through some language, image or speech samples.
On the left, you can choose between the Models or Samples view. The Models view lets you analyze the models you have available, while the Samples view shows you real working samples. Here, you can evaluate their utility for your app and access the necessary code for implementation.
Models view
The models view lets you check the available models, their purposes and how to use them:

On the left, you will find a treeview where the models are listed according to their categories. When you select a model, you see its description and some notes about it.
At the right, you can view the versions of the model, their size, hardware supported (CPU, GPU, NPU) and a button to download it, if they haven't been downloaded. When you click on the button, the model will be downloaded onto your machine and will run locally. Currently there are no cloud models available and everything runs in your machine, thus there is no fear that data could be sent to the cloud.
Below the versions, you can see the samples where this model can be used.
Sometimes, there may be more than one version of the model available, and some may be incompatible with your machine. In the image below, you can see that the GPU model is not available, because the system is running on a Qualcomm machine.

Samples view
When you click on the Samples view, you will see something like this:

You can select the type of sample you want and choose the model, from those available, for the sample, by clicking in the model dropdown:

After you select a sample and download the corresponding model, you will see a screen like this one:

You can run the sample and view its output:

The app currently offers these samples:
-
Text
- Generate text: Generates text according to your prompt
- Summarize text: Summarizes a piece of text
- Chat: Engages in a chat with the model, maintaining conversation history. You can ask follow-up questions without re-providing context
- Translate text: Translates between two languages
- Grammar check: Checks for grammar errors
- Paraphrase text: Rewrites the text differently
- Analyze text sentiment: Analyzes the text sentiment - positive, negative or neutral
- Custom parameters: Allows customization of system prompts, token limits, temperature (randomness), and other settings
- Content moderation: Ensures prompts are safe before generating responses
- Semantic search: Searches for related words or phrases within a text, even when not an exact match. In the sample, you can search in the story of Little Red Riding Hood for the word "grandma" and it will show you the passages where it finds the word "grandmother"

- Retrieval Augmented Generation (RAG): This sample requires two models—one for semantic search within a PDF file and another for generating responses using a language model. You can load a PDF file as context, perform a semantic search on the document, and feed the retrieved data to the language model for generating answers. The app even shows the specific pages used to craft the response:

In this example, a semantic search in a PDF about the Semantic Kernel was performed to answer, "What is a plugin?" The all-MiniLM model identified pages 263, 264, 275, and 291 as relevant. You can view these pages by clicking the "Show page" button:

-
Smart controls
- Smart Paste: Allows you to paste unformatted data into form fields. Simply copy the unformatted data, and the tool will intelligently distribute it across the fields when you click "Paste"
- Semantic Combo Box: Suggests related categories based on the text you type

-
Code
- Generate Code: Creates code snippets based on your prompt. Multiple programming languages are supported
- Explain Code: Analyzes and explains a given piece of code, breaking it down for better understanding
-
Image
- Generate Image: Creates images from a text prompt
- Describe Image: Provides a textual description of an image
- Classify Image: Categorizes the image based on its content
- Detect Objects: Identifies people or objects in an image
- Detect Human Pose: Maps specific points of a human pose
- Detect Multiple Human Poses: Identifies and maps poses for multiple people in an image
- Enhance Image: Upscales low-resolution images without clarity loss
- Segment Image: Separates an image into distinct parts
-
Audio and Video
- Transcribe Audio or Video: Converts recorded audio or video into text
- Transcribe Audio or Video Live: Real-time transcription of live audio or video
- Translate Audio or Video: Translates audio or video recordings into another language
Studying source code
Once you select a model and sample, you can view its implementation by clicking the Code button. A pane will open at the right, displaying the full source code:

You can see the C# and XAML code for the sample for all files involved in the process. For instance, the image above shows three files:
- Sample.xaml.cs: Contains the code-behind logic.
- Sample.xaml: Defines the UI layout.
- GenAIModel.cs: Manages the language model logic.
The GenAIModel class implements IChatClient, a class defined in the new Microsoft.Extensions.AI namespace. This new namespace simplifies a lot the usage of AI in your C# apps.
Below the code, you can see what are the NuGet packages needed to implement the sample.
Generating a Visual Studio project
If you want more than just studying the code, you can generate a Visual Studio project with all the files needed for running it. That way, you can debug the sample, change it for your needs and study its details.
To generate a Visual Studio project, just click in the Export button. A dialog box will be shown, so you can select to use the current cached model or if you want a copy in your program directory.

Then, it will ask you to select the folder where you want the new project to be created and will create the project and open Explorer with the selected path open:

You can click in the csproj file and the project will be opened in Visual Studio. You can run and debug the project from there. Only the needed files for the sample will be in the project, so you can concentrate on the sample code.

Managing your models
If, at some point, you see that you need some disk space (that will happen for sure if you start playing with AI), you can click on the Settings button at the bottom of the navigation bar to manage your models:

You can delete some models that are taking too much space or even move the cache folder to another drive that has more space. In this case, all models will be moved to the new location, thus freeing the space in the original drive.
Conclusions
The AI Dev Gallery is an invaluable tool for someone who is starting to implement AI in their apps, using C#: it can show you which models to use, some real world samples and even generate projects where you can study the code. It's free and open source, and you can even provide your feedback or submit pull requests for it.
Get started today by visiting https://aka.ms/ai-dev-gallery, cloning the project, compiling it and exploring the possibilities!