
Introduction
When we create LOB (Line-of-business) applications, we use to develop them in a modular way, to satisfy many requisites:
- The application is sold by modules - the customer can buy the sales module, but not the industrial one.
- The application can be developed by separated teams - each team develops an independent module.
- The modules are only loaded when the user needs it.
- The application doesn't need to be completely redeployed when a module changes
- We can create new modules and add them to the application with no need to change the other modules.
To create a modular application we must create a custom infrastructure that needs lots of work and can introduce bugs to the system
.Net 4.0 brought a new resource that allows us to create modular and extensible applications: MEF (Managed Extensibility Framework). This is a framework to create extensible apps and it is thoroughly tested - Visual Studio uses MEF for its extension system: when you use a Visual Studio add-in, you are using MEF.
Introduction to MEF
Before developing out modular application, we will see how to use MEF. To use it, you must include a reference to System.ComponentModel.Composition. After adding the reference we must tell to the program which are the parts that must be combined: on one side, we have the exported classes, the modules that will be added to the main module, that will fit in the imported parts.
To do this association and the module discovery, combining the exported parts to the imported ones we use Containers. They will discover the modules and will combine the exported to the imported parts. Containers can use catalogs to find the application parts. Does this seem difficult? Let's see how does it work in the real world.
Create a new console project and add a reference to System.ComponentModel.Composition. Create a new class and call it Menu:
public class Menu
{
    private Module _module;
    public void OptionList()
    {
       Console.WriteLine(_module.Title);
    }
}
We need to create the Moduleclass:
public class Module
{
    public Module()
    {
        Title = "Customers";
    }
    public string Title { get; set; }
}
Now we need to declare what will be exported and where this exported class will fit, using the **[Import]**and [Export] attributes:
public class Menu
{
    [Import]
    private Module _module;

    public void OptionList()
    {
       Console.WriteLine(_module.Title);
    }
}

[Export]
public class Module
{
    public Module()
    {
        Title = "Customers";
    }
    public string Title { get; set; }
}
Note that the _module field in the Menu class is private - this doesn't affect the composition. Now, we need to create our container and let it do its magic. In Program.csput the following code:
static void Main(string[] args)
{
    var catalog = new AssemblyCatalog(Assembly.GetExecutingAssembly());
    var container = new CompositionContainer(catalog);
    var menu = new Menu();
    container.ComposeParts(menu);
    menu.OptionList();
    Console.ReadLine();
}
We have created an AssemblyCatalog (that searches the parts in the assembly - in our case, in the current assembly), then created the container that composes the parts after the menu is created. When the **menu.OptionList()**method is called, the module's title is listed:
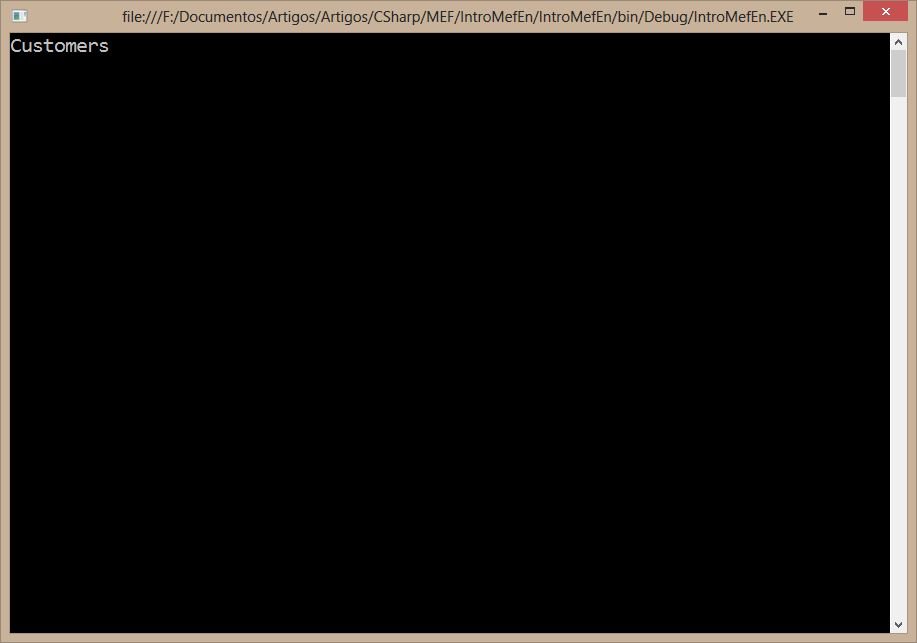
Getting more than one component
Now, you will say: but we have only one module listed. How do we do to have more than one? We must create a new interface IModule:
public interface IModule
{
    string Title { get; set; }
}
Our class will implement this interface and the export will tell that we are exporting the IModuleinterface:
[Export(typeof(IModule))]
public class Module : IModule
{
    public Module()
    {
        Title = "Customers";
    }

    public string Title { get; set; }
}
In order to match the parts, we must say that the imported part is also of IModule type:
public class Menu
{
    [Import]
    private IModule _module;
    public void OptionList()
    {
       Console.WriteLine(_module.Title);
    }
}
We execute the application and see that everything works like before. We can add the new modules:
[Export(typeof(IModule))]
public class Customer : IModule
{
    public Customer()
    {
        Title = "Customers";
    }
    public string Title { get; set; }
}

[Export(typeof(IModule))]
public class Product : IModule
{
    public Product()
    {
        Title = "Products";
    }
    public string Title { get; set; }
}

[Export(typeof(IModule))]
public class Supplier : IModule
{
    public Supplier()
    {
        Title = "Suppliers";
    }
    public string Title { get; set; }
}
We execute the application and... we get a ChangeRejectedException exception: "More than one export was found that matches the constraint: ContractName IntroMEF.IModule". MEF is complaining that we have many classes that export IModule.
The [Import] attribute allows only one export for the same interface. If there is more than one, this exception is thrown. When we want that many classes export the same interface, we must use the [ImportMany] attribute. To allow importing all the classes, we need to change the import a little, changing the attribute to **[ImportMany]**and the property type of the _module field to IEnumerable
public class Menu
{
    [ImportMany]
    private IEnumerable<IModule> _modules;

    public void OptionList()
    {
        foreach (var module in _modules)
        {
           Console.WriteLine(module.Title);
        }
    }
}
We also changed OptionListto list all the modules. Now, when we execute the application, all the modules are found and listed:
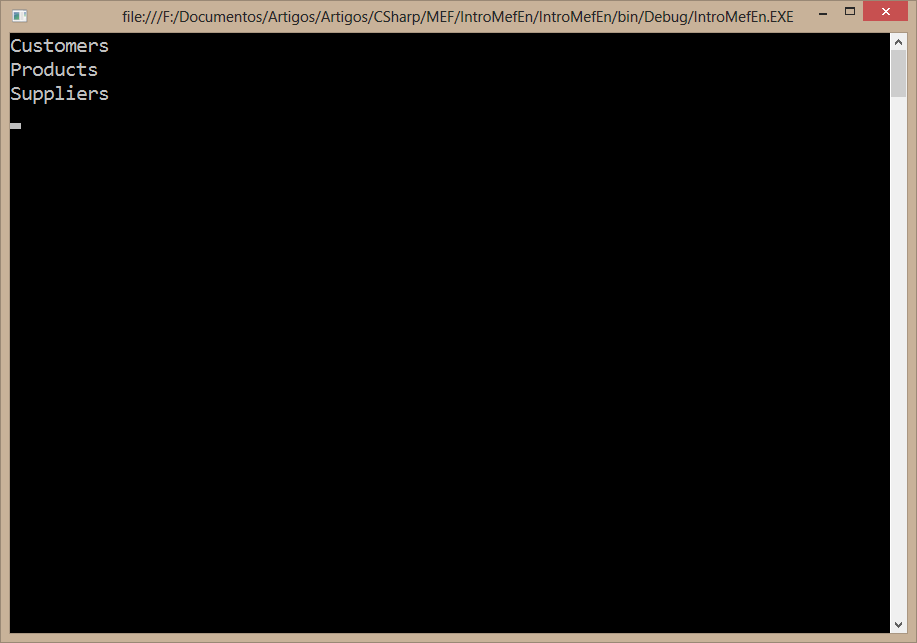
Working with modules in different assemblies
You may be thinking: "this is easy to do - everything is in the same assembly. Doesn't MEF allow modular and extensible apps?". All the magic is in the container and in the catalog. We have reated an AssemblyCatalog pointing to the current assembly, but we could do the same thing pointing to another assembly. You will answer: "this is still easy, I can add a reference to the other assembly where the modules are located. Where is the magic?".
AssemblyCatalogis not the only catalog that we can use. We can use other catalog types, like the DirectoryCatalog, that finds parts in assemblies located in a specified folder.
Let's change our project: in the solution, create a Portable Class Library and give it the name of **IntroMEF.Interfaces.**Choose the desired frameworks (use Framework 4.0 or higher) and delete the Class1.cs file. Add a new interface and put there the IModule interface, removing it from the main project. On the main project, add a reference to the interface project.
Create a new Class library project and give it the name of IntroMef.Modules. Add a reference to System.ComponentModel.Composition and remove the Class1.cs file. Add a reference to IntroMef.Interfaces and move the classes Customer, Product and Supplier to the new project.
Now we need to tell that our parts are not only in the current assembly, but they can also be found in the current folder. For that we must compose two catalogs: one for the current assembly (for the imported parts) and another for the folder (for the exported parts). We will use an AggregateCatalog to compose both catalogs:
static void Main(string[] args)
{
    var catalog = new AggregateCatalog(
        new AssemblyCatalog(Assembly.GetExecutingAssembly()),
        new DirectoryCatalog("."));
    var container = new CompositionContainer(catalog);
    var menu = new Menu();
    container.ComposeParts(menu);
    menu.OptionList();
    Console.ReadLine();
}
We execute our application and nothing happens - no module is listed. That is due to the fact that we haven't copied the modules assembly to the folder where the executable is located. Copy the assembly IntroMef.Modules to the executable folder, open a command window and execute the application again. Now the modules are recognized.
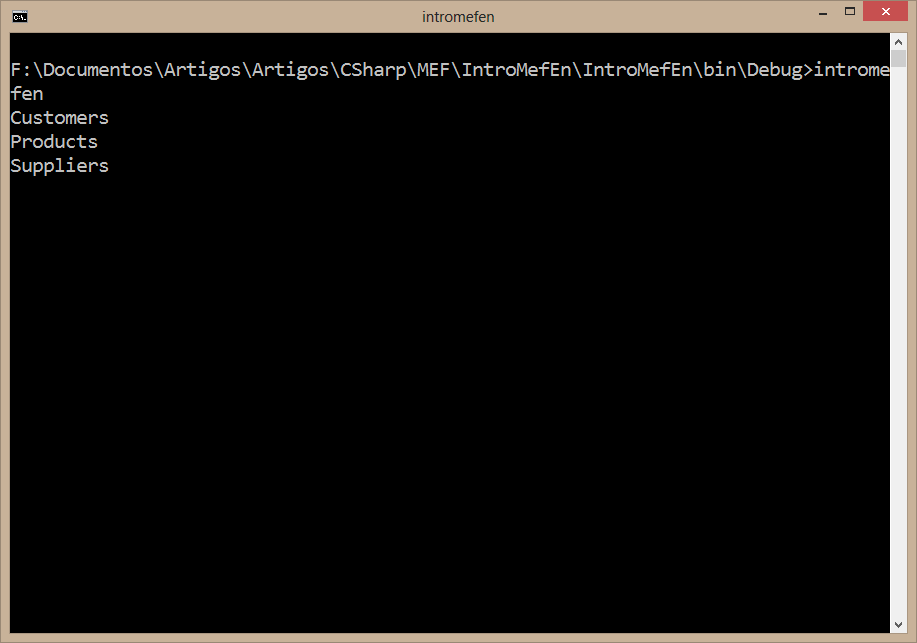
We didn't need to add any references to the main project in the module library nor add a reference to the library in the main project. All we had to do is to copy the file to the executable folder. MEF found the modules when the assembly file was in the correct folder.
Creating a WPF project with MEF
Now you may be thinking: "that's great, but I don't create any console projects - how do I do a modular project using WPF?". The answer is, in the same way we create a console application. To show that I am not lying, we will create a WPF project.
<Grid>
    <Grid.ColumnDefinitions>
        <ColumnDefinition Width="120" />
        <ColumnDefinition Width="*" />
    </Grid.ColumnDefinitions>
    <ListBox Grid.Column="0" ItemsSource="{Binding Modules}"
             DisplayMemberPath="Title" x:Name="LbxMenu"/>
    <ContentControl Grid.Column="1" Content="{Binding ElementName=LbxMenu,
        Path=SelectedItem.Content}" />
</Grid>
We are adding a grid with two columns. In the first one we will add the found modules and in the second one, the contents for the selected module. To make it work, we must have two properties in every module, Title, with the module's title and Content, a UserControl with the contents of that module.
We need to create an interface for the modules. We will do in the same way we did before, creating a new library. Create a class library and name it WPFMef.Interfaces. Add the references to PresentationCoreand WindowsBase. Remove the Class1.cs file and add a new interface IModule:
public interface IModule
{
    string Title { get; }
    UIElement Content { get; }
}
Then create a new class library for the modules. Add a new class library and name it WPFMef.Modules. Add the references to WPFMef.Interfaces, System.ComponentModel.Composition, System.Xaml, PresentationCore, PresentationFrameworkand WindowsBase. Create the exported classes:
[Export(typeof(IModule))]
public class Customer : IModule
{
    public string Title
    {
        get { return "Customers"; }
    }

    public UIElement Content
    {
        get { return new CustomerList(); }
    }
}

[Export(typeof(IModule))]
public class Product : IModule
{
    public string Title
    {
        get { return "Products"; }
    }

    public UIElement Content
    {
        get { return new ProductList(); }
    }
}

[Export(typeof(IModule))]
public class Supplier : IModule
{
    public string Title
    {
        get { return "Suppliers"; }
    }

    public UIElement Content
    {
        get { return new SupplierList(); }
    }
}
The next step is to create the views that will be shown when the option is selected. Create three UserControls with a content similar to this one:
<Grid>
    <Grid.RowDefinitions>
        <RowDefinition Height="40" />
        <RowDefinition Height="*" />
    </Grid.RowDefinitions>
    <TextBlock Text="Customer List" HorizontalAlignment="Center"
               VerticalAlignment="Center" FontSize="18"/>
    <ListBox x:Name="List" Grid.Row="1"/>
</Grid>
On the constructor of the view, add this code to add items to the ListBox:
public CustomerList()
{
    InitializeComponent();
    List.ItemsSource = Enumerable.Range(1, 100)
        .Select(n => "Customer " + n);
}
We have added a simple window that shows "Customer 1" to "Customer 100", just to show what can be done. Our module library is finished.
Go back to the main project, add the references to the library WPFMef.Interfaces and to System.ComponentModel.Composition. Create a new class and give it the name of MainViewModel. We will add there the code to initialize the container and the Modules property:
public class MainViewModel
{
    [ImportMany]
    public IEnumerable<IModule> Modulos { get; set; }

    public MainViewModel()
    {
        var catalog = new AggregateCatalog(
            new AssemblyCatalog(Assembly.GetExecutingAssembly()),
            new DirectoryCatalog("."));
        var container = new CompositionContainer(catalog);
        container.ComposeParts(this);
    }
}
We only need to associate the ViewModel to the View. In MainWindow.xaml.cs, add the following code:
public MainWindow()
{
    InitializeComponent();
    DataContext = new MainViewModel();
}
The project is ready and can be executed. When we execute it, we don't see anything in the window. We forgot to copy the assembly with the modules again. Just copy the assembly to the executable folder and run the program again. Yesssss!
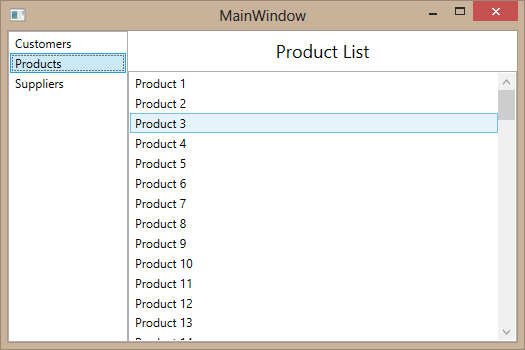
The data is shown when we select an option the content view at the right is changed.
If you don't want to copy the project manually, you can change the project options, changing the output path for the modules, pointing to the executable path:
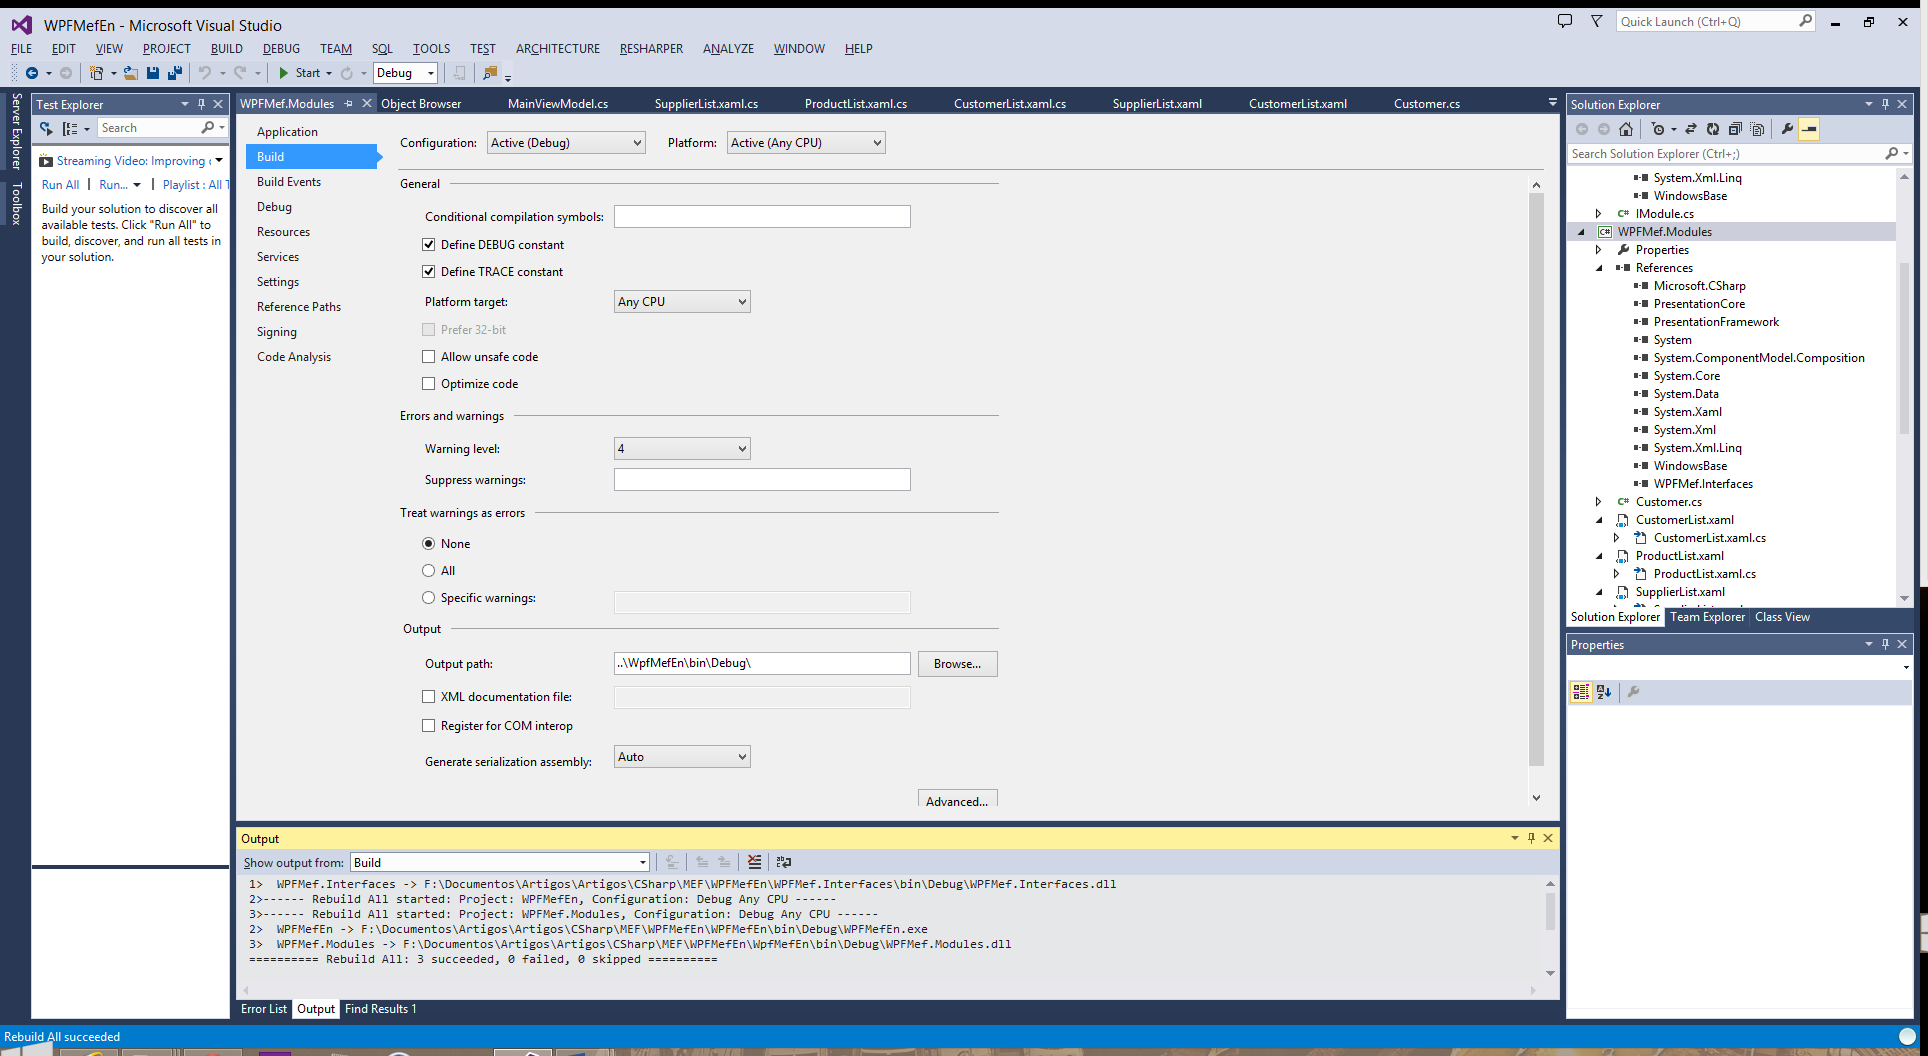
Conclusions
As you can see, MEF allows creating modular applications in an easy way that allows expanding our projects just by copying the dlls with the new modules. That works the same way in Windows Forms, WPF, Silverlight, Asp.Net and even Windows 8 (using NuGet). You have a standard way to create plug-ins that are not coupled, allow development done by many teams and adding or fixing modules with no need to recompile the whole project.
The full source code for this article is available in https://github.com/bsonnino/IntroMefEn
Nice Job!