
Posts in this Series:
- Linked Lists
- Stacks
- Queues
- Trees (this post)
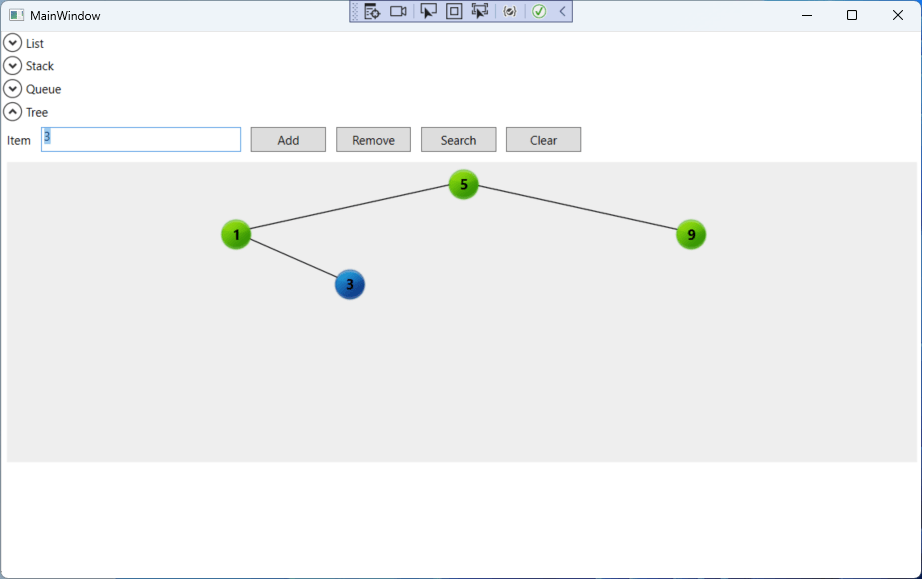
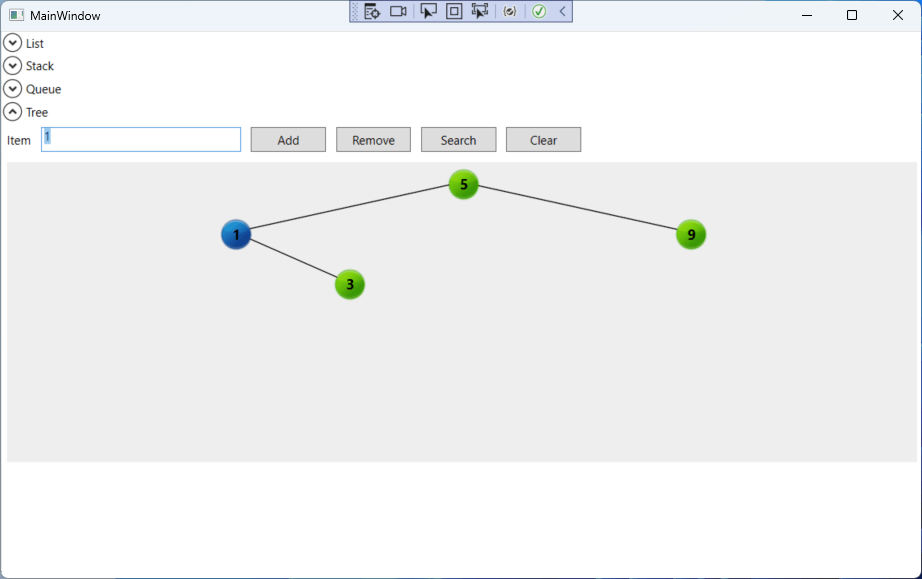
To conclude the data structures shown in this series, we will show the tree. The tree will store organized data – when you add an item to a tree, it will be stored in a way that it can be easily retrieved in a sorted way.
The first node added to the tree acts as a root node and it has two pointers, one to its left node and one to its right node. The tree is traversed recursively, checking the left and right nodes, until the nodes have no more children.
Its node structure is like this:
public class TreeNode<T> where T : IComparable<T>
{

    public TreeNode()
    {
        Left = null;
        Right = null;
    }

    public T Data { get; set; }
    public TreeNode<T> Left { get; set; }
    public TreeNode<T> Right { get; set; }
}
The treenode’s data must implement IComparable
Once we have the node data structure, we can start adding operations to the tree. The first one is to insert data in the tree:
public void Add(T data)
{
    var treenode = new TreeNode<T>() { Data = data };
    if (_root == null)
    {
        _root = treenode;
        _count++;
        return;
    }
    _currentNode = _root;
    while (true)
    {
        var comparison = treenode.Data.CompareTo(_currentNode.Data);
        if (comparison == 0)
            throw new InvalidOperationException("Data already in the tree");
        else if (comparison < 0)
        {
            if (_currentNode.Left != null)
                _currentNode = _currentNode.Left;
            else
            {
                _currentNode.Left = treenode;
                _count++;
                break;
            }
        }
        else
        {
            if (_currentNode.Right != null)
                _currentNode = _currentNode.Right;
            else
            {
                _currentNode.Right = treenode;
                _count++;
                break;
            }
        }
    }
}
For the insertion, we have two different cases:
- if the root node is null, the tree is empty, so the new node becomes the root
- If the tree is not null, we have to find the insertion point, navigating through the tree – if the inserted data is smaller than the current node’s data, we go to its left child; if it’s larger, we go to its right node. If it’s the same, the data is already inserted and we show an error. We navigate through the tree until we find a node that has no more left or right nodes (depending on the comparison) and we insert the new node in the empty node.
Removing data from the tree is more complex and all can be summed in three cases:
- The node to be removed has no children. In this case, we set its parent’s node pointing to it to null
- The node to be removed has only one child (left or right). In this case, we set its parent’s left or right node to point to the child node of the deleted node.
- The node to be removed has both the left and right nodes. In this case, we must find the predecessor of this node (the first one that is smaller than it and has no children at the right) and replace the deleted node with the predecessor and update the link from the parent of the predecessor to the predecessor right child (if it exists).

The code for deleting a node is:
public bool Remove(T obj)
{
    var nodeAndParent = FindParentAndNode(obj);
    if (nodeAndParent == null)
        return false;
    var parent = nodeAndParent.Item1;
    var currentNode = nodeAndParent.Item2;

    if (currentNode.Left == null && currentNode.Right == null)
    {
        if (parent == null)
            _root = null;
        else if (parent.Left == currentNode)
            parent.Left = null;
        else
            parent.Right = null;
        _count--;
        return true;
    }

    if (currentNode.Left == null)
    {
        if (parent == null)
            _root = currentNode.Right;
        else if (parent.Left == currentNode)
            parent.Left = currentNode.Right;
        else
            parent.Right = currentNode.Right;
        _count--;
        return true;
    }

    if (currentNode.Right == null)
    {
        if (parent == null)
            _root = currentNode.Left;
        else if (parent.Left == currentNode)
            parent.Left = currentNode.Left;
        else
            parent.Right = currentNode.Left;
        _count--;
        return true;
    }

    var parentAndPredecessor = FindParentAndPredecessor(currentNode);
    var predParent = parentAndPredecessor.Item1;
    var pred = parentAndPredecessor.Item2;
    if (predParent == currentNode)
    {
        if (parent.Left == currentNode)
        {
            parent.Left = pred;
            pred.Right = currentNode.Right;
        }
        else
        {
            parent.Right = pred;
            pred.Right = currentNode.Right;
        }
    }
    else
    {
        predParent.Right = pred.Left;
        currentNode.Data = pred.Data;
    }
    return false;
}
At the beginning, we find the node to be deleted and its parent. The FindParentAndNode function traverses the tree and returns the node to be deleted and its parent as a tuple:
public Tuple<TreeNode<T>, TreeNode<T>> FindParentAndNode(T obj)
{
    TreeNode<T> currentNode = _root;
    TreeNode<T> parentNode = null;
    while (true)
    {
        int comparison = obj.CompareTo(currentNode.Data);
        if (comparison < 0)
        {
            if (currentNode.Left != null)
            {
                parentNode = currentNode;
                currentNode = currentNode.Left;
            }
            else
                return null;
        }
        else if (comparison > 0)
        {
            if (currentNode.Right != null)
            {
                parentNode = currentNode;
                currentNode = currentNode.Right;
            }
            else
                return null;
        }
        else
            return Tuple.Create(parentNode, currentNode);
    }
}
After finding the node and its parent, when then check for any of the three cases: if it’s a leaf node (no left and right children), then we remove the link from its parent to it. It it has one of the children, we set the link from its parent to its children. If it has both children, then we find its predecessor and the predecessor’s parent and replace the links from the predecessor parent to the deleted node children and replace the data from the deleted node with the predecessor’s data. The FindParentAndPredecessor function is:
private Tuple<TreeNode<T>,TreeNode<T>> FindParentAndPredecessor(TreeNode<T> currentNode)
{
    var parent = currentNode;
    var pred = currentNode.Left;
    while (pred.Right != null)
    {
        parent = pred;
        pred = parent.Right;
    }
    return Tuple.Create(parent, pred);
}
Now we have all the operational methods in place. Now we need the methods to retrieve data. The first one is the Exists method, that searches an item and returns true if it exists:
public bool Exists(T obj)
{
    if (_root == null)
        return false;
    TreeNode<T> currentNode = _root;
    while (true)
    {
        int comparison = obj.CompareTo(currentNode.Data);
        if (comparison < 0)
        {
            if (currentNode.Left != null)
                currentNode = currentNode.Left;
            else
                return false;
        }
        else if (comparison > 0)
        {
            if (currentNode.Right != null)
                currentNode = currentNode.Right;
            else
                return false;
        }
        else
            return true;
    }
}
This method will traverse the tree comparing the nodes’ data: if the data of the searched node is greater than the current node’s data, then we go to the right branch. If it is smaller, we go to the left branch. If we reach a node with no corresponding branch, the item is not in the tree. If we find a node where the data is equal to the searched data, we return true.
The other method is GetItems, that returns the sorted items:
public IEnumerable<T> GetItems()
{
    if (_root == null)
        yield break;
    foreach (var data in VisitNode(_root))
        yield return data;
}

private IEnumerable<T> VisitNode(TreeNode<T> node)
{
    if (node.Left != null)
        foreach (var data in VisitNode(node.Left))
            yield return data;
    yield return node.Data;
    if (node.Right != null)
        foreach (var data in VisitNode(node.Right))
            yield return data;
}
To get the ordered items data, we use a recursive function that does what is called “InOrder Traversal”: for each node in the tree, it traverses the left node, emits the data for the current node and then traverses the right node.
That way we have finished our journey to knowing the binary tree. This is a data structure more complex that the ones we have seen before, but it is also extensively used.
The source code for this series of articles is in https://github.com/bsonnino/DataStructures
2 thoughts on “Data structures in C# – Part 4 – Trees”