
Introduction
I've been writing blogs for a long time. My blogs are pretty simple; there isn't much formatting and the images I include are usually screenshots. There is some code, which I want to be well formatted and ready to copy (using screenshots of my code editor would not be a possibility, here). I've used Windows Live Writer, and when it was discontinued, I started using Open Live Writer. However, it's no longer maintained, and I started to have issues posting to my blog.
I began to use the WordPress tool to create the blogs, but I don't recommend it to anyone.
Then came Markdown. Markdown allows users to write plain text documents using a simple syntax that can be easily converted into HTML, PDF, or various other formats.
It was simple, easy to use (I could use any text editor), but there were some issues:
- I had no preview of my work
- To post to my blog, I would have to convert Markdown into the HTML blog format
- I would have to have a tool to post the article and images
So, I abandoned the idea until I saw Markdown Monster, which was being offered for free for Microsoft MVPs by its developer, Rick Strahl (who also is a Microsoft MVP; you can check outhis blog here). I got a copy and started using it immediately and never looked back.
With it, I can edit my posts using Markdown and use the preview to see the results and, at the end, I can post to my blog, without need of any external tool. When the MsMvps.com blog went out of service (it's back now) and I had to transfer all my posts to the new Revolution Blog, this tool saved me a lot of time: I had a backup, but it was not up-to-date and it was just for the text - no images (lessons learned: always keep an up-to-date backup in a safe place, maybe in two different places - and check if your backup contains everything you need to recreate your data) and I had to recover some posts and images from the Wayback Machine.
Not an easy task, download the posts and images, convert the HTML into Markdown and recreate and upload the post to the new site. Besides that, I also had to verify all links and change them to point to the new blog.
User Interface
When you open the software, you will see a three-pane layout, the first pane shows a folder explorer where you can view the files in the current folder. The second one is the edit pane, where you can edit multiple files in a tabbed interface and the third shows a preview for the text:
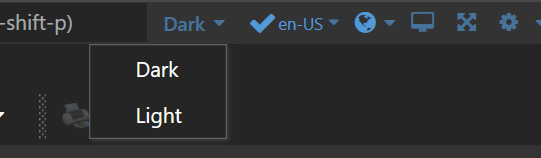
The interface is highly customizable, with options to adjust themes, fonts, and layouts to suit your preferences. For example, you can set the application theme to the light mode by going to the top bar and changing the mode to light:
You can also change the editor or the preview theme by selecting the desired theme in the drop-downs in the bottom bar. If you don't like any of the available themes, just go to Tools/Open Preview Themes folder and change the
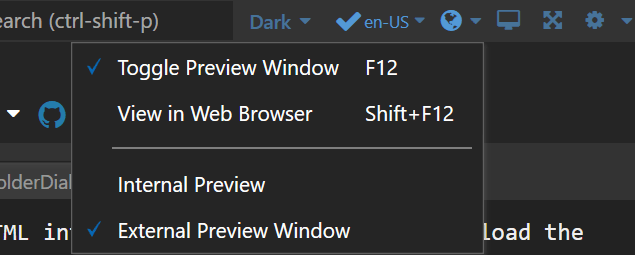
To change the position of the preview pane, you can go to the world icon on the top bar and change the position of the preview:
Editing is very simple, you type the text using Markdown syntax, and if you don't remember how to do something, just use the icons in the top bar and you're all set. The only thing you have to remember is to add a double line break for a paragraph (a single line break won't create a new paragraph). You can also embed HTML markup in the page. For example, both
[Revolution Blog](https://blog.revolution.com.br/)
and
<a href="https://blog.revolution.com.br/">Revolution Blog</a>
will create a link on the page.
The text will have spell checking, thus minimizing the number of errors you may have in your text. It comes with 4 dictionaries pre-installed, but you can download many others:
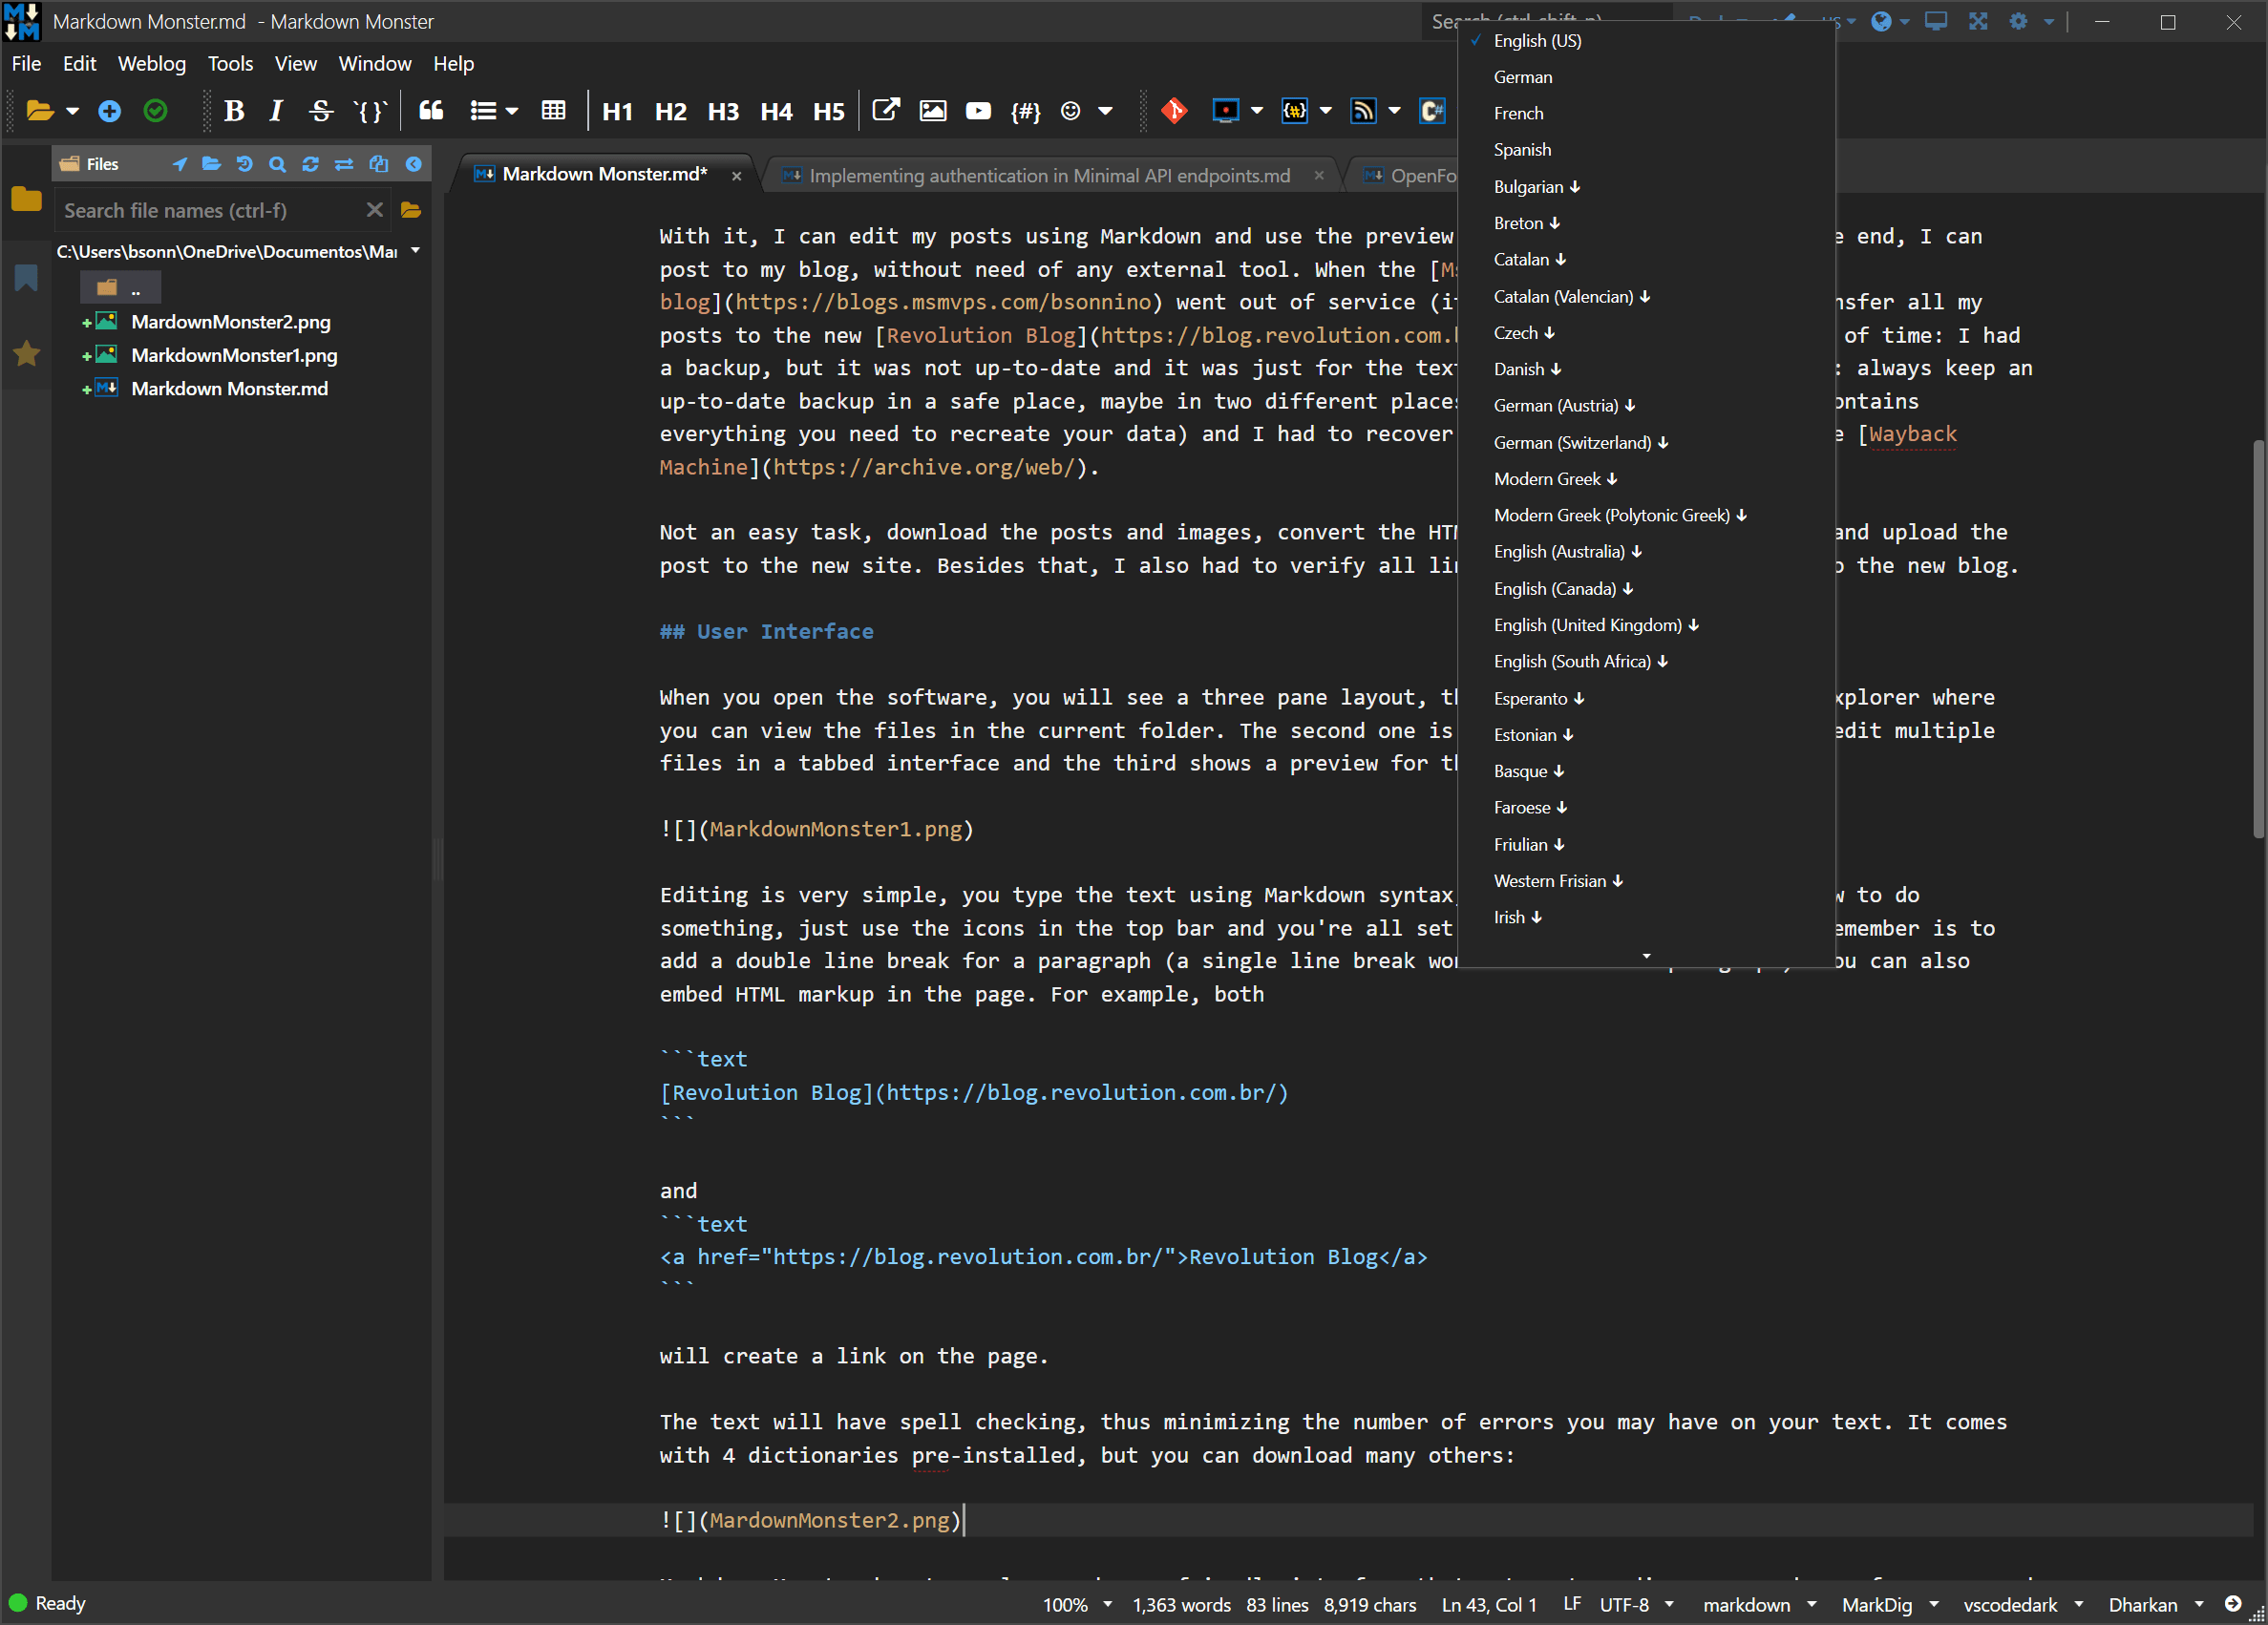
If the language you want is not available, you can also download the Open Office dictionaries. Just change the extension of the downloaded file to .zip and copy the .dic and .aff files to %LocalAppData%\Markdown Monster\Editor.
When it comes to add code to the document, the code has syntax highlighting, depending on the language you are adding.
One thing I really like is the ability to add images to the text. As I use a lot of screenshots in my articles, I can just copy the images and paste them directly in the text. That will prompt me to create a new file and save it, while adding a link to the file in the text. If you have images to add, you can just drop them into the folder explorer and add a link to them by dragging it into the text.
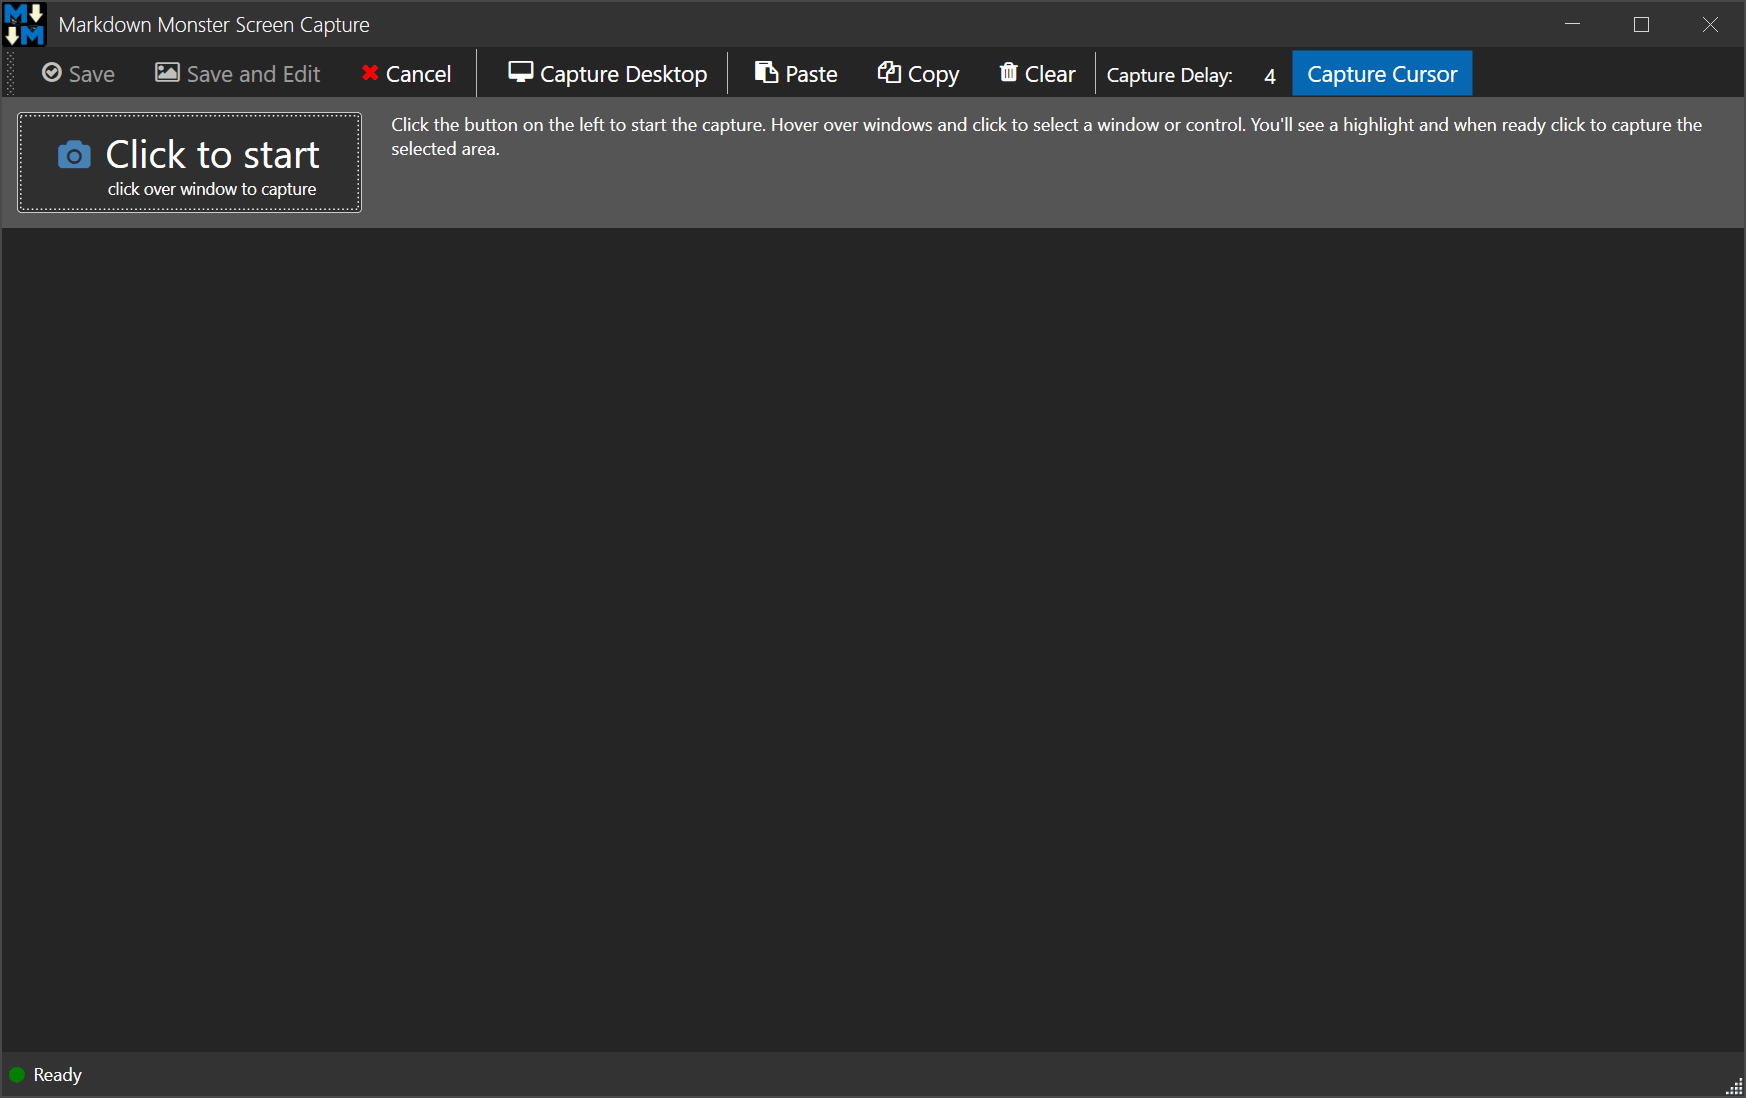
You can even use its internal screen capture tool. Whenyou click the screen capture icon in the toolbar, the tool opens and you can capture and save any window in the desktop (or the entire desktop).
On the lateral bar on the left, you can also select the document outline, where you have all the sections added to the document. You can navigate through the sections (a great feature for long documents) or you can add links to any section in the text by dragging the section from the outline and dropping it in the text:

You can also use snippets to insert custom text. Go to the snippet editor (Tools/Addins/Snippets Template Expansions), and you can add your own snippets.

To insert a snippet, just type the snippet in an empty line and it will be inserted for you.
Extensibility
You can extend the toolbar by adding more icons to it by changing the configuration file (go to Tools/Settings and open the json file) and add the icons to the Editor.AdditionalToolbarIcons. Once you do that, the icons appear in the toolbar and can be used like the ones in the default toolbar.
For example, if you add this code to the config file:
"AdditionalToolbarIcons": {
  "Copyright": "html|©{0}",
  "Euro": "html|€{0}",
  "Bolt": "html|<b><i>{0}</i></b>"
}
You will get three more icons in the toolbar to add the Copyright and Euro symbols to the text and to set the selected text as Bold and Italic:

You can also extend more using custom addins, creating them with the Commander Addin or creating a full fledged addin .
Blog posting
One of the extensions available in Markdown Monster is the Weblog Publisher. This extension, by itself, worths the application, in my point of view. With it, you can publish the article you are writing directly to your blog.
It will send all the files needed to your blog and publish it. If you want to make a change to an article but don't have the files available, there is no problem: Markdown Monster can download all files (both the text file and images), you can make the changes needed and upload the modified ones to your blog. I use it all the time, you can write the article using markdown syntax and publish directly to the the blog, sending the images and adjusting the links to point at them.
Once you select the Tools/Post to Weblog, a window like this appears:

You can type the abstract, categories, keywords and post the article to the blog. If you have multiple places to post, you can post to the other place(s), just changing the web site to post. You can configure as many blogs as you want in the Web logs tab.
Once you publish the data, Markdown Monster will add the metadata to the beginning of the post, so you don't have to retype it the next time you want to update the article.
Conclusion
When it comes to Markdown editing, Markdown Monster is very powerful and user-friendly. It's packed with features, easy to use and very customizable. As a blog writing tool, I find it invaluable, it's by far the best blogging tool I've used and I can really recommend it to everyone.
The tool is not free; you can download an evaluation version. However, to use it on a regular basis, you should buy a license.