Recently, I went to a client, where they assigned me a machine to work, but there was no software installed, and there was no admin rights to install any software. I had to set up my box to start development before all the red tape could be set, licenses assigned, software installed and so on.
So I thought to setup a box where I could install the software as standard user, with no need of any special licenses to get up und running for development in Dotnet Core and React with Typescript (the same steps can be used to develop with Angular or any other Javascript environment).
Initially, I installed Google Chrome (its developer tools are great and you can debug your Javascript apps in it). I went to Chrome site (https://www.google.com/chrome/), downloaded the installer and ran it. When it asked me the admin credentials, I clicked Cancel and the installer offered to install as Standard User.
Then I installed Visual Studio Code. It's a terrific IDE to edit your programs (in any language) and even debug your apps. There are extensions to do everything, it's really great. I used a direct link to download the portable version and unzip the zip file and add the path to VSCode with this Powershell script:
Set-ExecutionPolicy Bypass -Scope Process -Force;
$remoteFile = 'https://go.microsoft.com/fwlink/?Linkid=850641';
$downloadFile = $env:Temp+'\vscode.zip';
$vscodePath = $env:LOCALAPPDATA+"\VsCode";

(New-Object Net.WebClient).DownloadFile($remoteFile, $downloadFile);
Expand-Archive $downloadFile -DestinationPath $vscodePath -Force
$env:Path += ";"+$vscodePath
[Environment]::SetEnvironmentVariable
     ("Path", $env:Path, [System.EnvironmentVariableTarget]::User);
The next step is to install Node.js (https://nodejs.org/). Node.js is a JavaScript runtime, where you can run your Javascript Apps. I went to the Node site saw that there is a zip file for Windows (https://nodejs.org/dist/v12.13.0/node-v12.13.0-win-x64.zip). I created this Powershell script to download and install Node LTS:
Set-ExecutionPolicy Bypass -Scope Process -Force;
$remoteFile = 'https://nodejs.org/dist/v12.13.0/node-v12.13.0-win-x64.zip';
$downloadFile = $env:Temp+'\node-v12.13.0-win-x64.zip';
$nodePath = $env:LOCALAPPDATA+"\Node";

(New-Object Net.WebClient).DownloadFile($remoteFile, $downloadFile);
Expand-Archive $downloadFile -DestinationPath $nodePath -Force
$env:Path += ";"+$nodePath
[Environment]::SetEnvironmentVariable
     ("Path", $env:Path, [System.EnvironmentVariableTarget]::User);
You can open a Powershell window and type these commands or you can downlad and run the script file from my GitHub (link below).
The next step is to install Yarn (https://yarnpkg.com/lang/en/), a dependency manager running this command in the command line
npm install yarn -g
The last step is to install Dotnet core. There is no package to install it as a standard user, but there is a Powershell script to install it at https://dot.net/v1/dotnet-install.ps1. If you open a Powershell window and run the commands:
Set-ExecutionPolicy Bypass -Scope Process -Force;
$remoteFile = 'https://dot.net/v1/dotnet-install.ps1';
$downloadFile = 'dotnet-install.ps1';
$dotnetPath = $env:LOCALAPPDATA+"\Microsoft\Dotnet";

(New-Object Net.WebClient).DownloadFile($remoteFile, $downloadFile);
$env:Path += ";"+$dotnetPath
[Environment]::SetEnvironmentVariable("Path", $env:Path, [System.EnvironmentVariableTarget]::User);
Now you are all set, your development machine is ready to go. To create a React app, just open a command line window and type these commands:
yarn create react-app reactapp --typescript
cd reactapp
yarn start
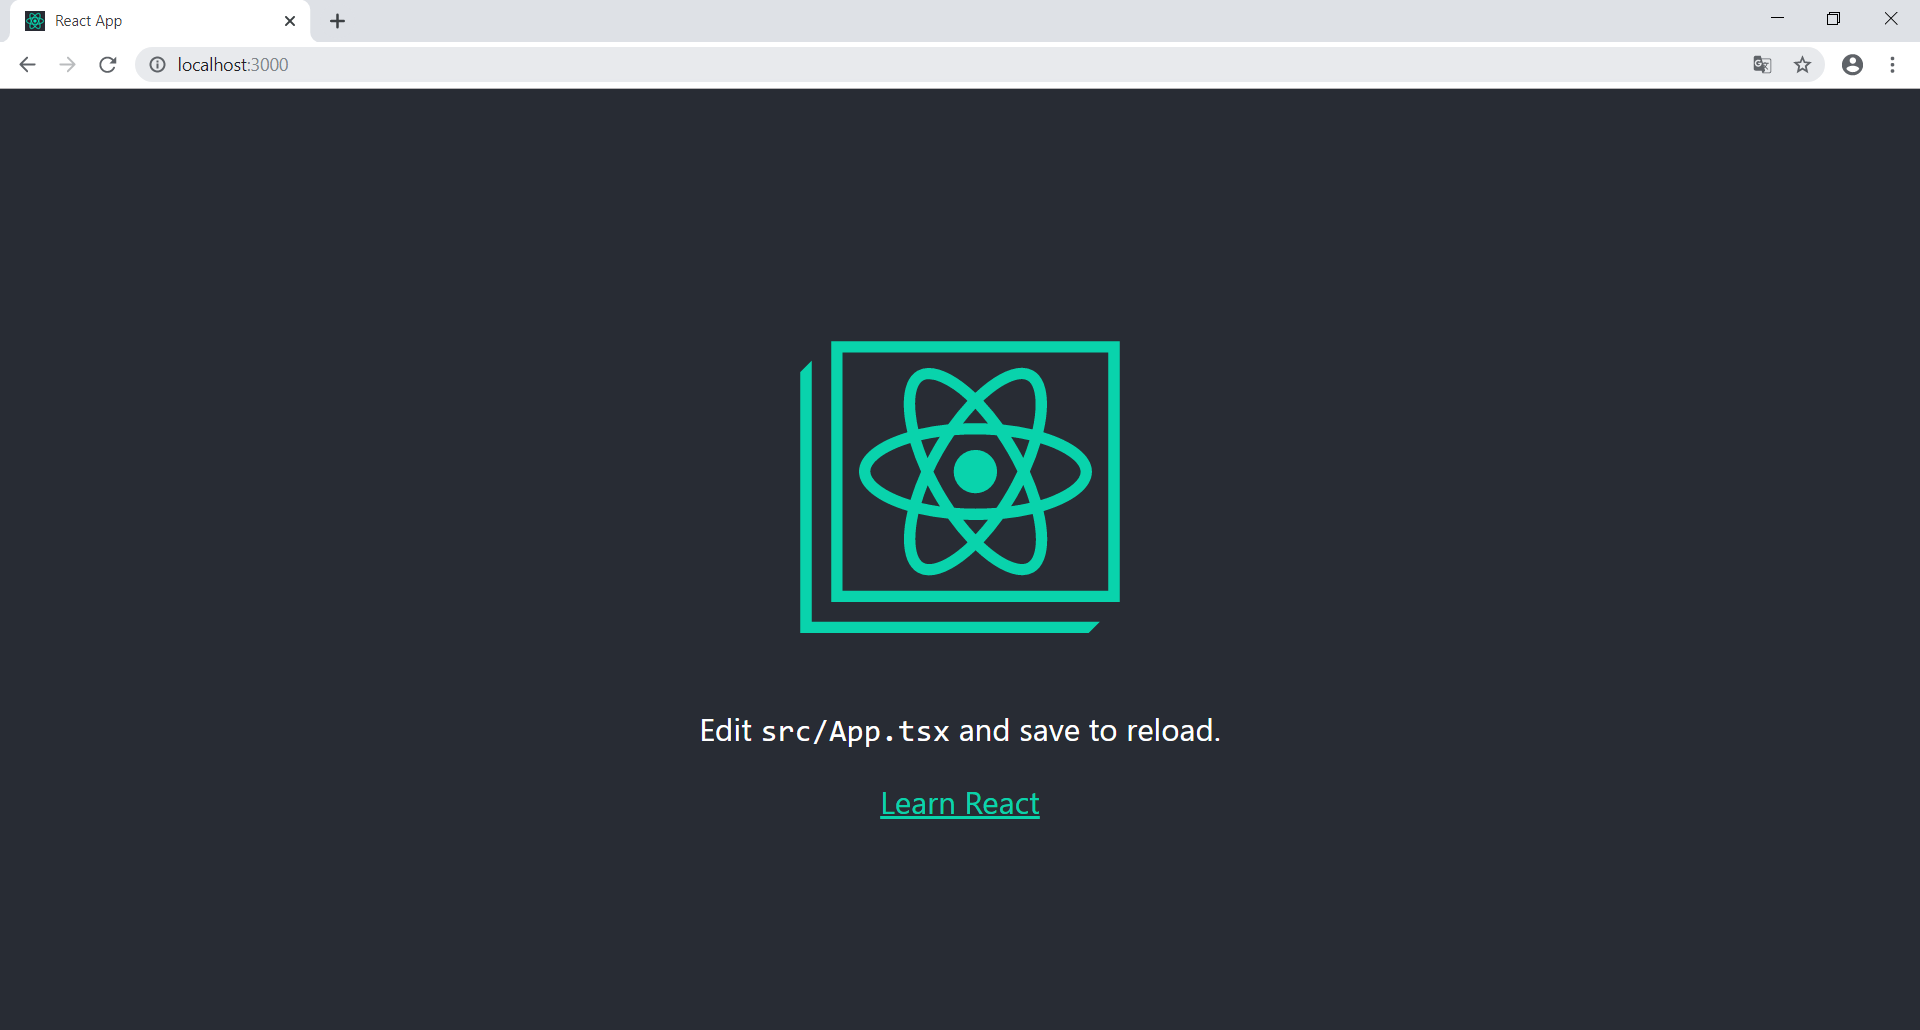
If you point your browser to http://localhost:3000, you will see:

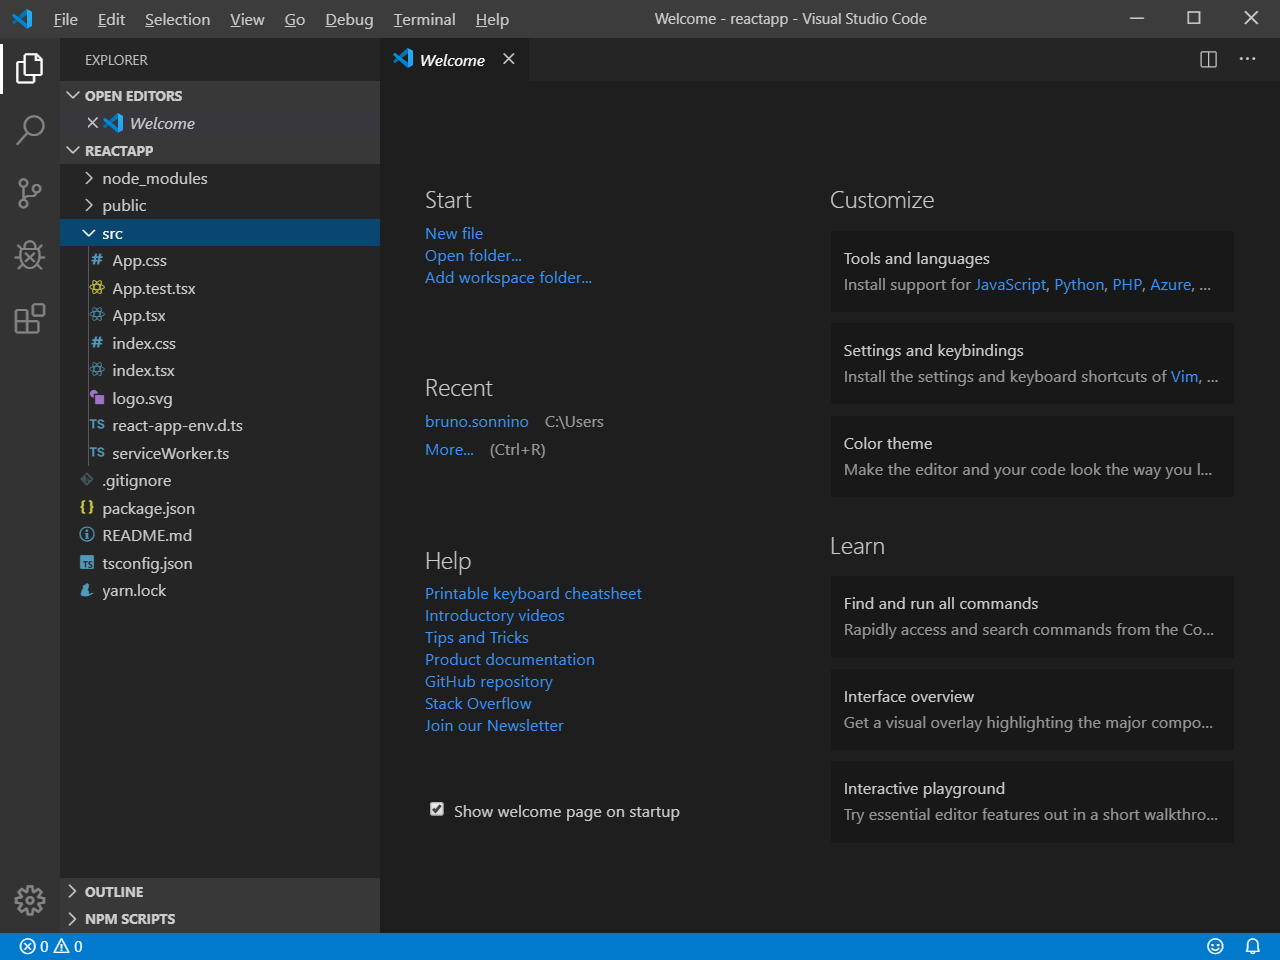
Running Code . will open VS Code with the project folder open:

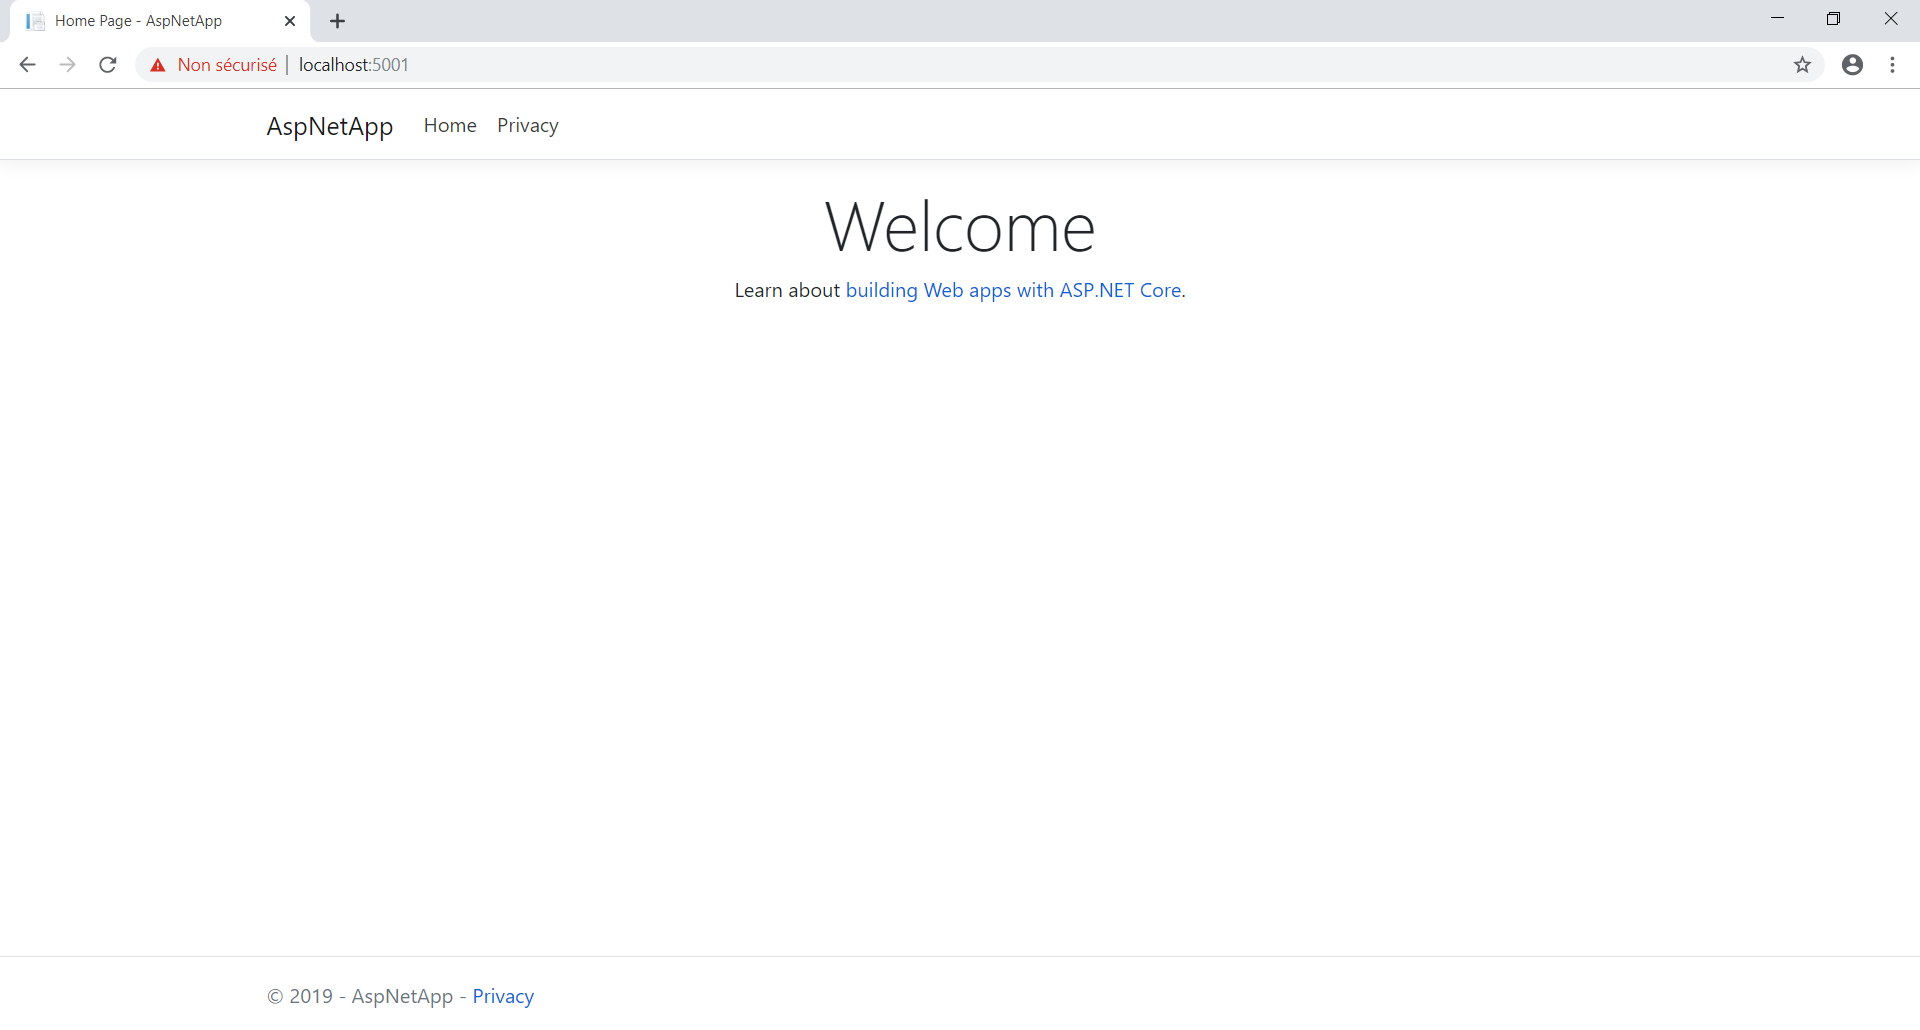
You can also create an Asp.NET Core MVC with the commands:
dotnet new mvc -o AspNetApp
cd AspNetApp
dotnet run
And open http://localhost:5000 in the browser to see the app running:

As you can see, with a few steps, you can setup a developer machine with no need of admin rights nor the need of any license, you can now start developing your full apps and debug them in VS Code.
That way, I could start and run from day one, and when the full install came, I was already developing.
After finishing the setting, I noticed that all the scripts are very similar, so I created a single script, Install-FromWeb:
[CmdletBinding()]
Param (
  $RemoteFile,
  $DownloadFile,
  [bool]$DoExtractFile = $False,
  [string]$ExecutePath = $null,
  $AddedPath
)
Write-Host $RemoteFile
Write-Host $DownloadFile

Invoke-WebRequest -Uri $RemoteFile -OutFile $DownloadFile
If ($DoExtractFile){
  Expand-Archive $DownloadFile -DestinationPath $AddedPath -Force
}
If (-Not ([string]::IsNullOrEmpty($ExecutePath))){
  & "$ExecutePath"
}
$env:Path += ";"+$AddedPath
[Environment]::SetEnvironmentVariable("Path", $env:Path, [System.EnvironmentVariableTarget]::User);
When I was pushing the data to my GitHub, I noticed that Git for Windows (https://gitforwindows.org/) wasn't installed. I checked the Git for Windows site and there is a portable version in https://github.com/git-for-windows/git/releases/download/v2.24.0.windows.2/PortableGit-2.24.0.2-64-bit.7z.exe. With it, you can use Git as a version control system. With that, you can install your machine with a single set of instructions:
Set-ExecutionPolicy Bypass -Scope Process -Force;
.\Install-FromWeb.ps1 -RemoteFile "https://go.microsoft.com/fwlink/?Linkid=850641" -DownloadFile $env:Temp"\vscode.zip" -DoExtractFile $true -AddedPath $env:LOCALAPPDATA"\VsCode"
.\Install-FromWeb.ps1 -RemoteFile 'https://nodejs.org/dist/v12.13.0/node-v12.13.0-win-x64.zip' -DownloadFile $env:Temp'\node-v12.13.0-win-x64.zip' -DoExtractFile $true -AddedPath $env:LOCALAPPDATA"\Node"
Move-Item -Path $env:LOCALAPPDATA"\Node\node-v12.13.0-win-x64" -Destination $env:LOCALAPPDATA"\Node1"
Remove-item -Path $env:LOCALAPPDATA"\Node"
Rename-item -Path $env:LOCALAPPDATA"\Node1" -NewName $env:LOCALAPPDATA"\Node"
npm install yarn -g
.\Install-FromWeb.ps1 -RemoteFile 'https://dot.net/v1/dotnet-install.ps1' -DownloadFile $env:Temp'\dotnet-install.ps1' -DoExtractFile $false -AddedPath $env:LOCALAPPDATA'\Microsoft\Dotnet' -ExecutePath $env:Temp'\dotnet-install.ps1'
.\Install-FromWeb.ps1 -RemoteFile 'https://github.com/git-for-windows/git/releases/download/v2.24.0.windows.2/PortableGit-2.24.0.2-64-bit.7z.exe' -DownloadFile $env:TEMP'\PortableGit.exe' -DoExtractFile $false -AddedPath $env:LOCALAPPDATA'\Git' -Debug
& $env:TEMP'\PortableGit.exe' -o $env:LOCALAPPDATA'\Git' -y
All the scripts are in my Github : https://github.com/bsonnino/DevMachine
So, happy development!

I think this is ok for web dev, but for desktop development (c++) you’ll most certainly need build tools for visual studio 2019 package to get the compilers. This atm isn’t available as a user only install and requires admin rights.
Did you solve this somehow?
This is really a problem, because installation programs usually write in the Program Files folder or in the Machine Registry, that need Admin Rights – the only workaround to this I know is something like the old XP Mode – a virtual machine with everything you need and admin rights (you still need them, but not on your main machine).
While the Visual Studio C++ tools can’t practically be installed without admin rights you can use GCC for a compiler in Visual Studio:
https://code.visualstudio.com/docs/cpp/config-mingw