
You have an old app (maybe a WPF or even a VB6 app), it still works fine, but the plans to rewrite it to UWP and get all the features for Windows 10 are always postponed (yes, there is always something more urgent than rewrite an app that is working fine). But, at the same time, you would like to publish it to the Store to get the benefits of being there: easy install and uninstall, worldwide discovery (you always knew there was somebody in the other side of the world that would benefit of the app), easy deploy, checking against viruses and other threats, and even monetization of the app - it would be nice to sell the app and receive the revenues at the end of the month without worrying with that.
Until some time ago, that would be impossible to do, unless you did a complete rewrite of the app, but with the Desktop Bridge, this is possible. And you can do it in many ways: you can just convert your app without any changes (you don't even need the source code for the app), you can add some Windows 10 features to it, rewrite some parts of the app to UWP and so on. That way, you can start immediately and convert the app at your own pace. That will give you all the benefits of the store at once and you don't need to worry with the conversion until you are ready for it.
Can your app be converted?
Before converting your app, you must be sure it can be converted and, if not, you must make some changes to make it compliant with the conversion. These are good practices that should be done even before thinking to convert:
- Running in elevated mode - converted apps cannot run in elevated mode. Do you really need elevated mode? If not, you must change your app before converting.
- Write in the install folder - this is one of the most common mistakes done by old apps. This is not allowed in UWP apps and, unless you change this to write in another folder, your app won't be approved.
- Write in system folders - yes, Microsoft has something to do with this issue. When you were using ini files to save your configuration, the default folder for them was in the Windows folder
- Write in the HKLM registry hive. If you have this in your app, you must change it to HKCU instead
There are some other issues that may prevent your app to be submitted to the Store. You can check them here.
Starting the conversion process
Once you are sure that your app can be converted, you can start the conversion. The first step for the conversion is filling a form here. This is needed because the submission process will be different from normal UWP apps. The converted apps will have full thrust in the machine they are installed and they must be double-checked. One other issue is that you don't need the source code, so you must be the legal owner of the app to publish it (and you must have some kind of proof of that). Once you have that in place, you can convert your app. You have three ways to convert it:
- using Visual Studio (you must have the source code for that and the project must be opened in Visual Studio (in this case, you cannot convert your VB6 projects or any project that cannot be opened in Visual Studio)
- using the Desktop App Converter - this is a Store app that must be run to convert your app. In this case, you have more flexibility than using Visual Studio: you can convert any app, including Win32 ones. You just need to have an installer that runs silently (with no user interaction)
- Doing a manual conversion - this is the most flexible way, you can choose the files that will be packaged and how they will be, but this way will require more work and knowledge.
Using Visual Studio to convert a WPF app
We will use Visual Studio to convert my Data Structures app, discussed in the posts from 2016 (the last one in the series is here). You can get the full project in . Once you download it and open it in Visual Studio, you are ready to convert it to the Store.
The first step here is to convert it to use the .NET Framework version 4.6.1 or later. You need that to convert the app to the store, as this is the minimum version supported there. You can do that by going to Project/Options/Application:

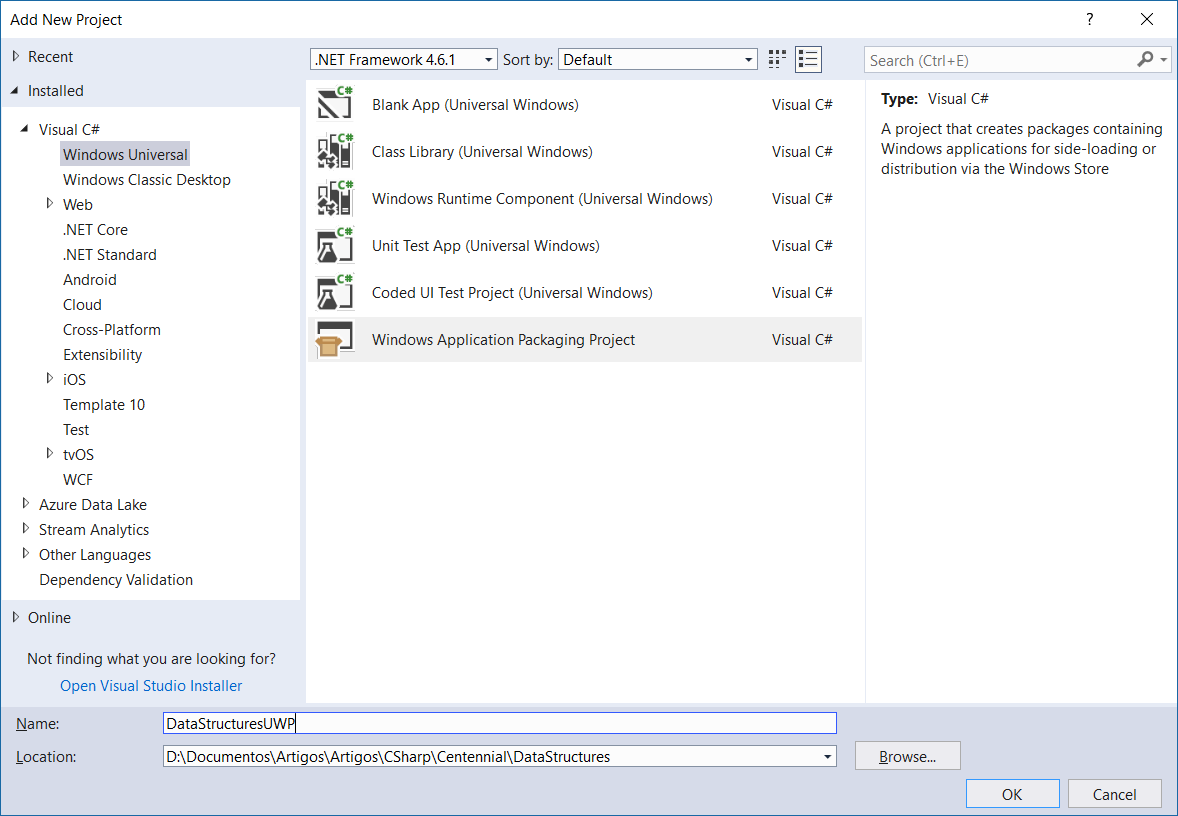
The next step is to add a new project to the solution, of type Windows Application Packaging Project (under Windows Universal):
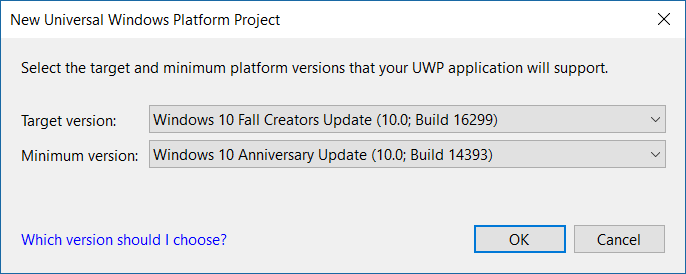
Name it DataStructuresUWP. That will be the name of your UWP app. You must select the Windows version 14393 as the minimum version:
When the project is created, you must right click the Applications node and add the application as a reference

Once the app is added, you can right-click in the node under Applications and select "Set as Entry Point". You are now ready to create the UWP app, by selecting the conversion project in the Solution Explorer, right-clicking on it and selecting "Store/Create app packages".

When you select to build the package for the App Store, you need to have an account there (you can create an account at http://dev.windows.com) and select a name for your app:

You can also create packages that won't go to the store and will be installed in the local machine. When you create the package, a link where the files will be located is shown and you must right click the Add-AppDevPackage.ps1 file and select "Run With Powershell".

By distributing these files, you can sideload the app in any machine that has the developer mode enabled (in the Windows Settings). In our case, we have a faster way to install and run the app: just right click the conversion project in the Solution Explorer and select "Set as Startup Project". Now, when you run the project, you will install and run the converted app, which is an UWP app. If you see the icon for the app in the taskbar, you will see the default UWP icon (the square with an X) and opening the start menu, you will see the installed app there.

That was easy, no? Now, you can customize your app to make it better for the store.
Customizing the app for the store
Now that the app is converted, you can customize it for the store by setting its name and assets (icons, tiles, etc). This is done by double clicking the Package.appxmanifest file in the Solution Explorer:

There, you can change its display name, icons and tiles and make it ready for sending to the store. With this, your app is ready for the store and you already have all the benefits of being there. As you can see, the changes were minimal and your app still runs the same. If you still want to use your WPF app, the only change that was made is to retarget for the 4.6.1 .NET Framework. In this case, we had the source code to build the app, but in the next article I will show how to convert a Win32 app with no source code, so you can get the same benefits. See you there!
1 thought on “Publishing your app to the Store with the Desktop Bridge”