Some time ago, computer makers introduced new classes of Windows devices: the 2-in-1 and the tablets. These kinds of computers bring a lot of innovation – the 2-in-1 computers can be used as notebooks and tablets, while still maintaining their power: you can have very powerful devices, that can be used at the office and on the road, thus avoiding the need of having a tablet and a notebook.
But this kind of devices have another kind of innovations that are not visible at first sight: sensors. With them, you can have the same experience you have with a smartphone – you can use the accelerator for games or gestures, the GPS for location and routing and many others. This series of posts will show how to use these sensors in UWP, so you can give your user a better experience, so he can use all the resources of his device. And all this with an added bonus, thanks to UWP development – the same project will work both on desktop devices and smartphones.
Working with sensors in UWP
Basically, working with sensors in UWP is pretty much the same:
- You get an instance of the sensor with the GetDefault method
- You set its properties
- You set a handler for the ReadingChanged
That’s all that is needed to work with sensors in UWP. So, let’s go and start with the first sensor: the light sensor.
Working with the light sensor
The light sensor can be used to detect the environment lighting and adjust the screen brightness according to the external light, so the use has the best experience. In this post I will show a simple way to create the effect used in GPS devices: when it’s day, it shows the display with a white background and when it’s night, it shows it with a black background.
To get this effect, the simplest way is to use themes. UWP has three default themes, Dark, Light and High Contrast and you can set them by using the RequestedTheme property of the control (in our case, the main window). So, let’s start.
In Visual Studio create a UWP application and add this XAML to the main page:
<Grid Background="{ThemeResource ApplicationPageBackgroundThemeBrush}">
   <TextBlock Text="Day" HorizontalAlignment="Center" x:Name="MainText"
       VerticalAlignment="Center" FontSize="48" />
</Grid>
Then, in the MainPage constructor, we will initialize the light sensor and process its readings:
public MainPage()
{
    this.InitializeComponent();
    var lightSensor = LightSensor.GetDefault();
    if (lightSensor == null)
    {
        MainText.Text = "There is no light sensor in this device";
        return;
    }
    lightSensor.ReportInterval = 15;
    lightSensor.ReadingChanged += async (s, e) =>
    {
        await Dispatcher.RunAsync(Windows.UI.Core.CoreDispatcherPriority.Normal, () =>
        {
            if (e.Reading.IlluminanceInLux < 30)
            {

                RequestedTheme = ElementTheme.Dark;
                MainText.Text = "Night";
            }
            else
            {
                RequestedTheme = ElementTheme.Light;
                MainText.Text = "Day";
            }
        });
    };
}
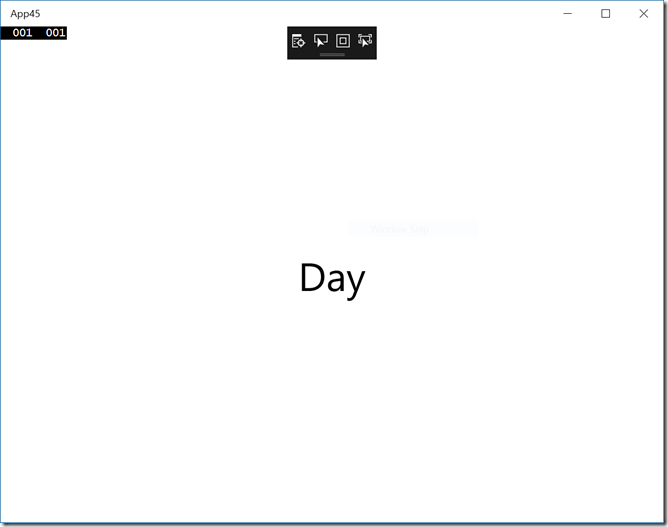
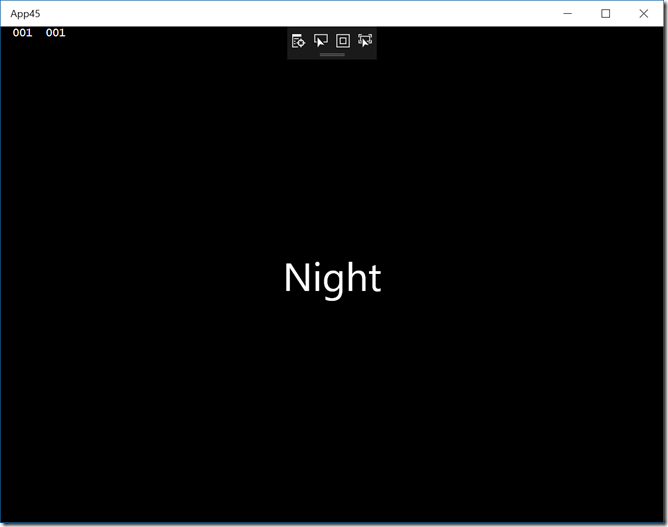
We must use the Dispatcher to change the theme and text, because the ReadingChanged can be called in a different thread of the UI thread. When the Illuminance reading is less than 30 Lux, we change to the Dark theme and change the text to Night.
Now, when you run the program in a device that has a light sensor, you will see the default view in daylight like this:

If you cover the light sensor to simulate the lack of light, you will see something like this:

Conclusions
As you can see, it’s very easy to work with sensors. With them, you can give a better experience for your users, so they can enjoy using your apps. And a added benefit is that you can use the same app in a desktop or in a Windows Phone.
The source code for this app is in https://github.com/bsonnino/LightSensor

But the problem is who will use these sensor APIs , Nobody using Windows 10 in their devices. Most of the venders do not write Custom drivers for their devices so these APIs then have no use and of no benefit.
That’s not true. I’ve been using a Surface for a long time with these sensors and most laptops and 2-in-1 also have them. If you develop a game for Windows 10, you can take advantage of them.